Lab 2 – Starting Historian
Add the Historian to the System Management Console
The System Management Console allows you to start and stop the Historian software, monitor the system, and make configuration changes. In the next steps, you will start your Historian Server.
Important: If you have a one node environment, you do not need to register any historian. Go to Step 7 to continue the lab.
Step 1. Open the System Management Console (Start | All Programs| Wonderware | System Management Console).
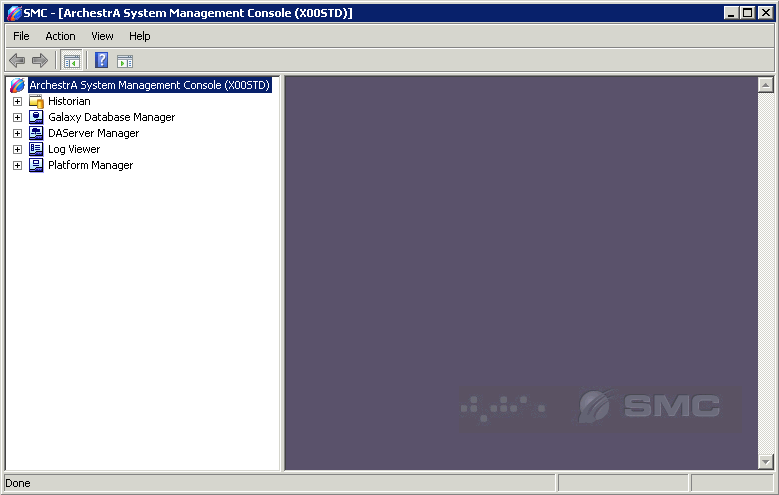
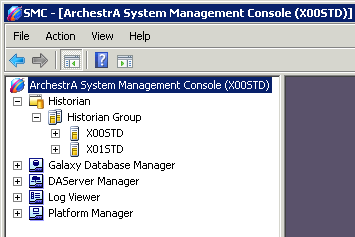
The ArchestrA System Management Console appears. Historian is listed within the snap-ins.
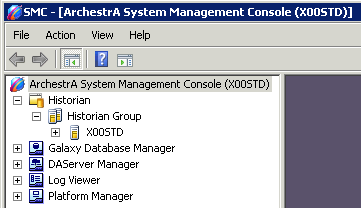
Step 2. Expand Historian and Historian Group.
There is already an installation of Historian Server listed in your local node, but it is reserved to be used in a subsequent lab to test redundancy.
Your main Historian is located in a different node, where the HistPlatform object was deployed.
Now, you will add the new Historian to the SMC.
Step 3. Right-click Historian Group and select New Historian Registration.
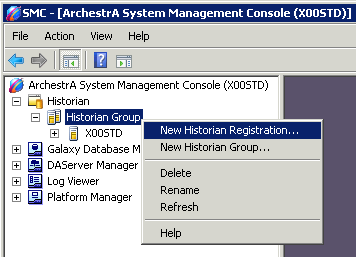
The Registered Historian Properties dialog box appears.
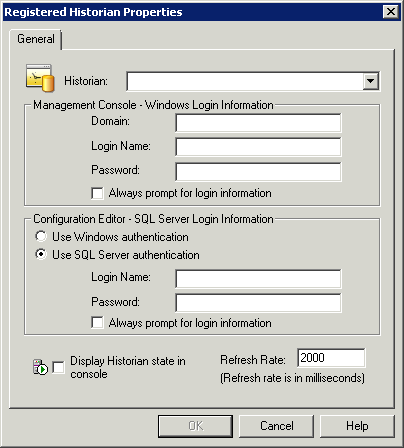
Step 4. In the Historian
field, enter the Historian node name
Step 5. In the Management Console - Windows Login Information area, enter the following
- Domain:
- Login Name:
- Password:
- Always prompt for login information:Unchecked (default)
- Use Windows authentication:Selected
In the example below, the Historian node name is X01STD and the Login Name is student.
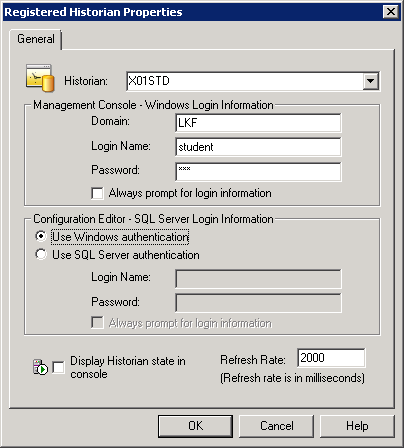
Step 6. Leave the other values as default and click OK.
Now you can see two Historian Servers listed under the existing Historian Group.
Start Historian
You just registered the remote Historian Server. Now you will determine its current status and make sure it starts running successfully.
Step 7. Expand the Historian Server you just added so you can see the Management Console and the Configuration Editor.
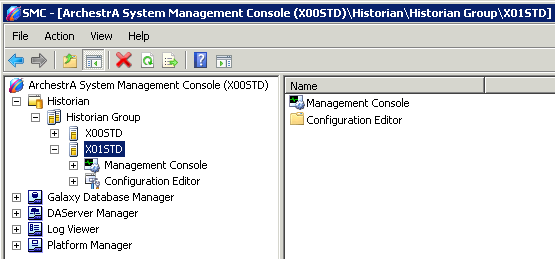
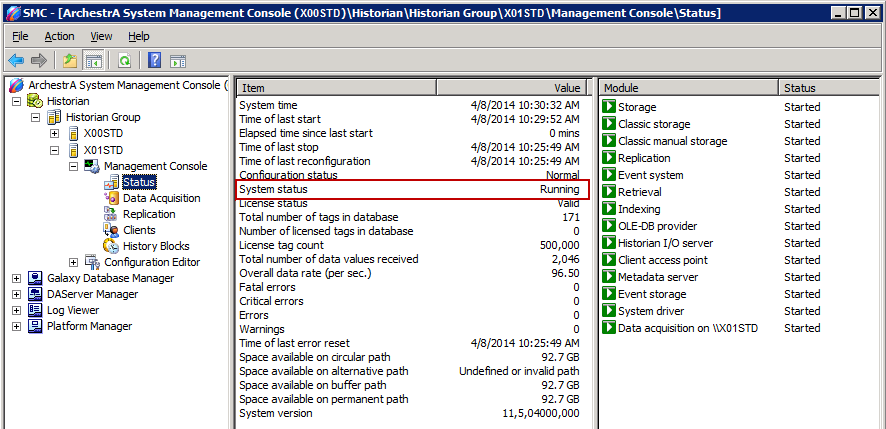
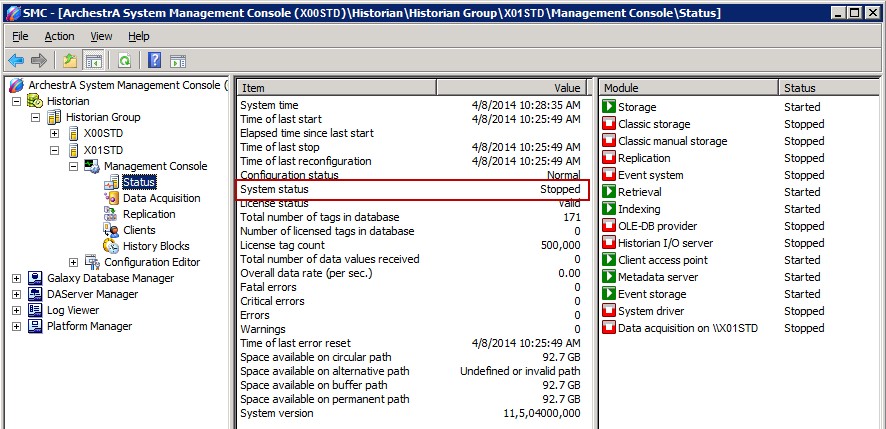
Step 8. Expand the Management Console and click Status.

The Start Historian confirmation dialog box appears.
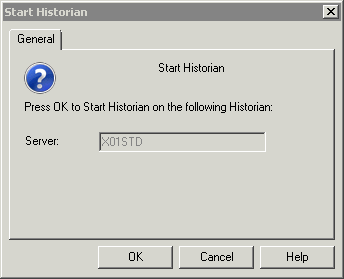
Step 9. Click OK.
Now you will see the Value of System status change from Stopped to Starting and finally to Running.