Topic 10.1.2: Project Security Configuration
- Open the Project tab of the ribbon, in the Security System group, click Configure.
- If you have already configured the security system for your project, open the Security System dialog box as described above and then click Run Wizard.
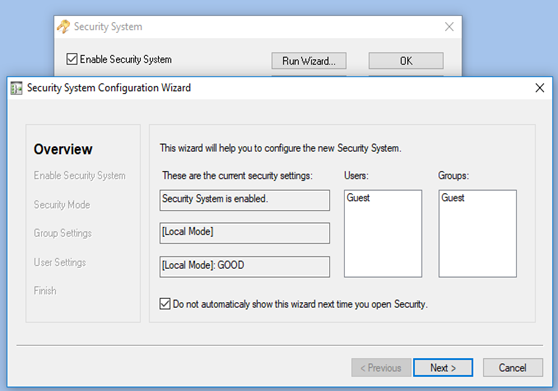
- This page always shows how the security system is currently configured.
- Click Next.
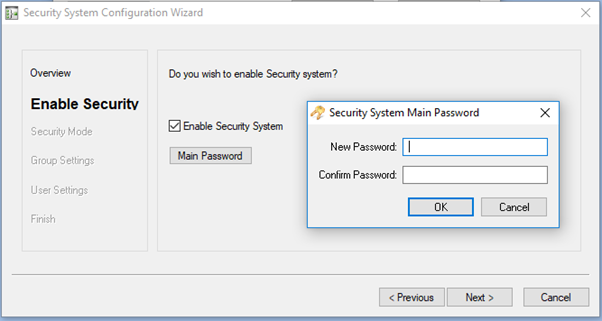
- Select the Enable Security System option, if it is not already selected. The security system is enabled by default for new projects. And Set the Main Password for your project. (The Main Password is separate from the passwords for individual user accounts, including any accounts that you create for yourself and then use to develop and test your project. )
- Click Next and define the type of Project security.
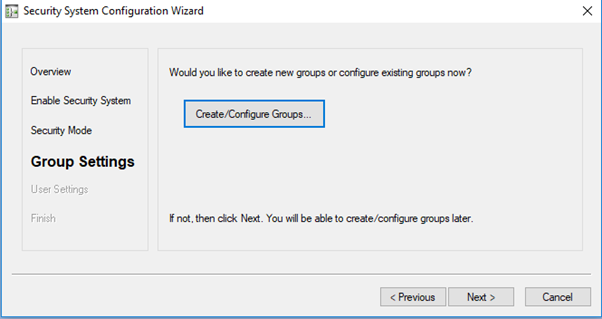
- Click Next and click Create/Configure Groups if you want to create or configure groups and then configure the settings as needed.
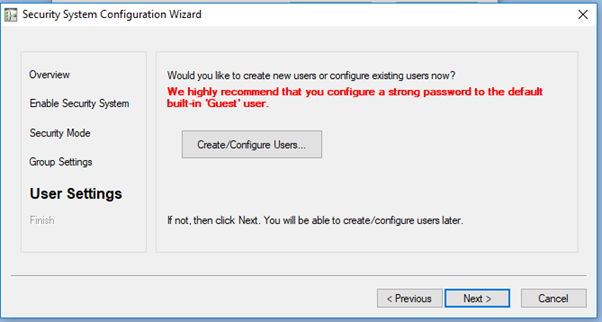
- Click Next and If you want to create or configure users, click Create/Configure Users and then configure the settings as needed.
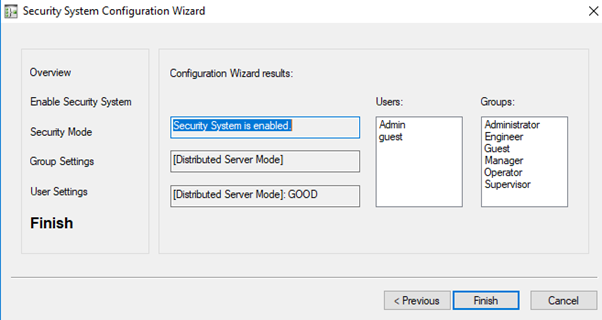
- Click Next and Review your configuration, and then click Finish to close the wizard.
Last modified: Friday, 12 July 2019, 1:42 PM
