Topic 3.2.1 - Overview
Event Retrieval
Using the functions available in Wonderware Historian Client Workbook, you can select specific
event tags from the database and retrieve different types of values for these tags.
Select Event Tags
To select event tags, do the following:
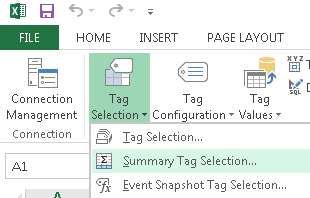
1. On the Historian ribbon, click Tag Selection, and then click Tag Selection.
The Tag Selection dialog box appears.
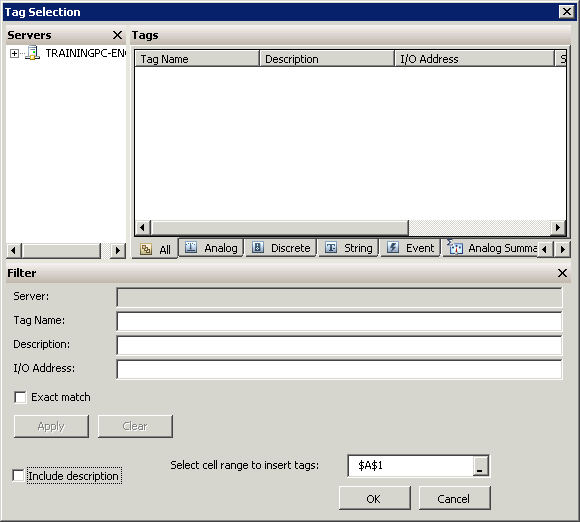
2. In the Servers pane, expand the Historian Server and Public Groups, and then click the All
Event Tags folder.
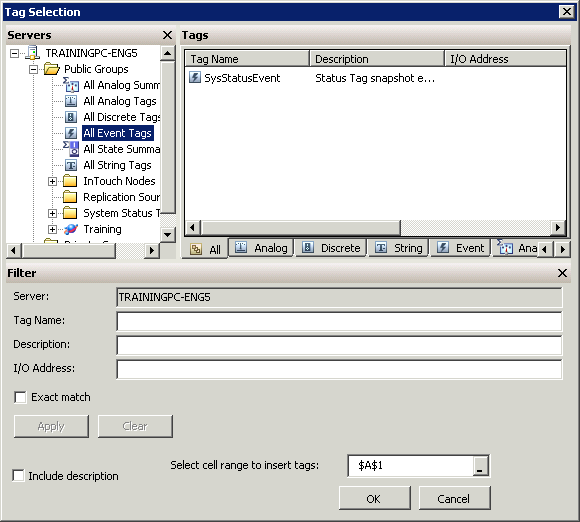
3. In the Tags Window, select an Event Tag.
4. In the Filter area, check the Include description check box to include tag descriptions in the
results.
5. In the Select cell range to insert tags list, click the name of the workbook cell into which you
want to insert the tags.
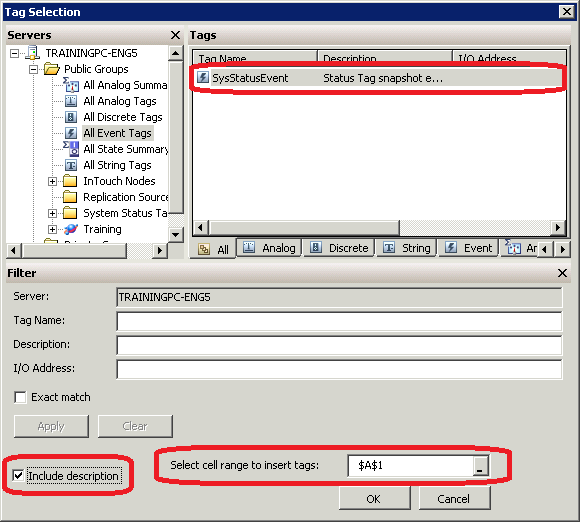
6. Click OK.
Select Summary Tags
A tag for which an aggregation calculation, such as minimum, maximum, average, or sum is
already configured is called a summary tag.
To select summary tags, do the following:
1. On the Historian ribbon, click Tag Selection, and then click Summary Tag Selection.
The Summary Tag Selection dialog box appears.
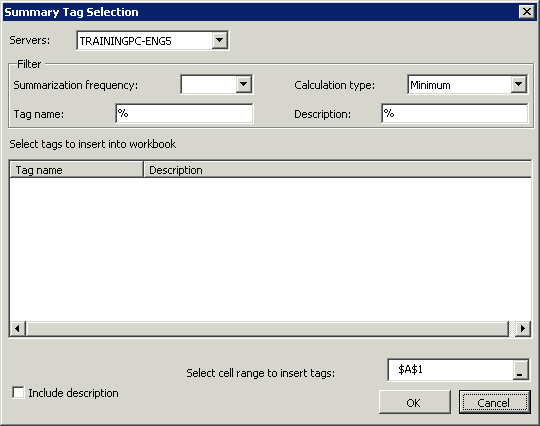
2. In the Servers list, specify the name of the server.
3. In the Filter pane, configure the criteria by which the summary tags are filtered and displayed
in the Select tags to insert into workbook window. The summary tags have the following
summary operations:
- Summarization frequency – Configure the time duration (in seconds) for which the calculation is performed
- Calculation type – Configure the type of calculation as Sum, Maximum, Minimum, or Average
- Tag name – Configure the name of the tag within the Wonderware Historian Server
- Description – Provide a description for the tag
4. Check the Include description check box to include tag descriptions in the results.
5. In the Select cell range to insert tags list, click the name of the workbook cell into which you
want to insert the tags.
6. Click OK to insert the summary tags into the selected cell.
Select Event Snapshot Tags
You can retrieve the values for snapshot tags associated with a particular event. For this, you can
use the Event Snapshot Tag Selection option of the Tag Selection button. The Event Snapshot
Tag Selection option enables you to select specific event snapshot tags. Using the event
snapshot tags, you can view the data values for selected analog, discrete, or string tags that have
the same time-stamp as a detected event. This provides you with a snapshot of selected data
values at the time of an event.
1. To select an event snapshot tag, do the following:
2. On the Historian ribbon, click Tag Selection, and then click Event Snapshot Tag Selection.
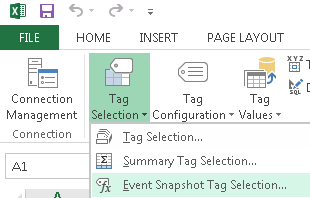
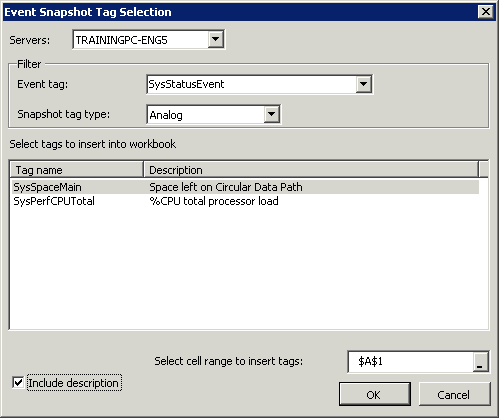
The Event Snapshot Tag Selection dialog box appears.
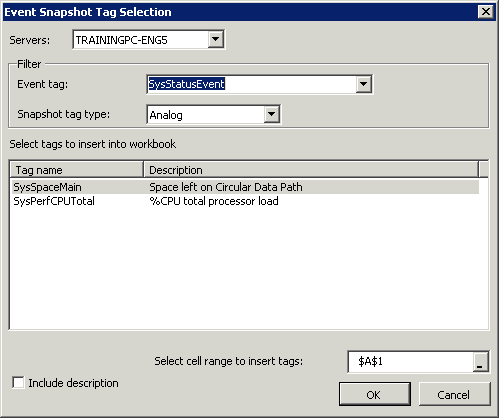
3. In the Servers list, specify the name of the server.
4. In the Filter pane, configure the criteria by which the event tags are filtered and displayed in
the Select tags to insert into workbook window.
- Event tag – Specify the name of the event tag to which the snapshot tag is related
- Snapshot tag type – Specify the type of snapshot as Analog, Discrete, or String
5. Check the Include description check box to include tag descriptions in the results.
6. In the Select cell range to insert tags list, click the name of the workbook cell into which you
want to insert the tags.

7. Click OK.
Retrieve Summary Values
You can retrieve summary values for only those tags that are configured to be summarized by the
Wonderware Historian event subsystem.
To retrieve a summary value, do the following:
1. Open a workbook.
2. In the cells, enter tag names.
3. On the Historian ribbon, click Tag Values, and then click Summary System Values.
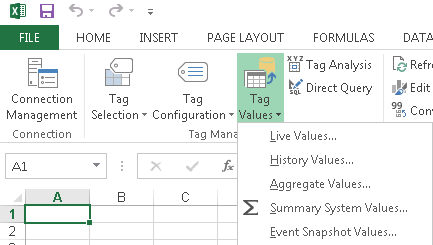
The Summary Values - Step 1 of 4 dialog box appears.
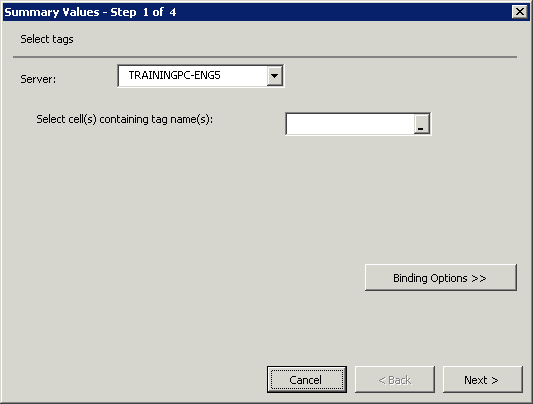
4. In the Server list, specify the name of the server.
5. In the Select cell(s) containing tag name(s) list, specify the location of the worksheet cell(s)
that contains the tag name(s).
Note: If you want to use a named tag range variable, click Binding Options, and then
configure the range.
6. Click Next.
The Summary Values - Step 2 of 4 dialog box appears.
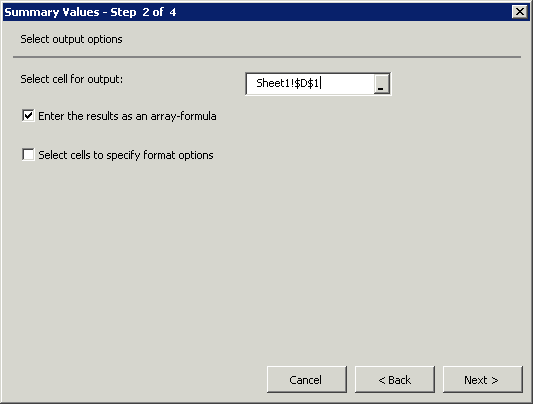
7. In the Select cell for output list, specify the location of the worksheet cell(s) that will contain
the output.
8. Check the Enter the results as an array-formula check box to insert the results as an array
formula.
An array formula can perform one or more calculations and then return either single result or
multiple results. An array formula resends the query, since the query parameters are included
in the cells that contain the query results.
9. If you desire special formatting for your query results, check the Select cells to specify
format options check box to specify a range of cells that contain the formatting information.
The formatting information in the cells will be applied to the query results.
10. Click Next.
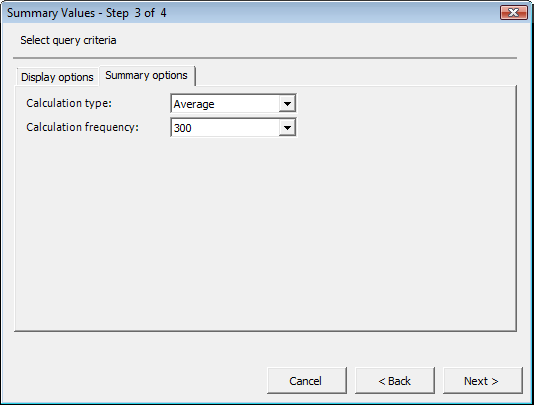
The Summary Values - Step 3 of 4 dialog box appears.
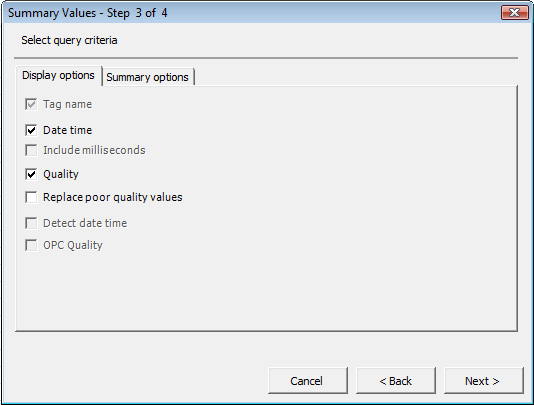
11. Configure the criteria for the query.
In the Display options tab, you can configure one or more of the following options to be
shown as columns in the results:
- Tag name – Specify the name of the tag within the Wonderware Historian Server
- Date time – Specify the time-stamp for the returned value
Note: For delta retrieval, Date time is the time at which the value was acquired by the
Wonderware Historian Server. For cyclic retrieval, this is the specific time requested or
calculated using an SQL function.
- Include milliseconds – Include milliseconds in the timestamp
- Quality – Specify the basic data quality indicator associated with the data value
- Replace poor quality values – Replace the current value with the text string of poor if
the value has a quality <> 0 or 133
- Detect date time – Specify what the time-stamp reflected when the event was detected by
the event system
Note: The Detect date time option is only applicable to event tags.
- OPC Quality – Specify the quality value received from the data source
In the Summary options tab, you can configure the criteria by specifying the type of summary
data to be displayed in the result. You can configure the following options:
- Calculation type – Specify the type of calculation as Sum, Maximum, Minimum, or Average
- Calculation frequency – Specify the time duration (in seconds) for which the calculation is performed
12. Click Next.
The Summary Values - Step 4 of 4 dialog box appears.
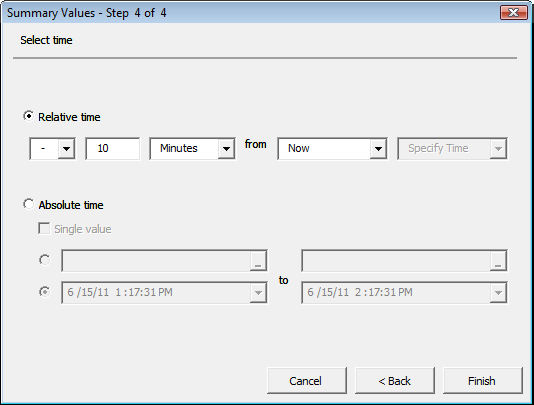
13. Configure the time for the query. You can configure one of the following time options:
- Relative time – Specify that the query uses a relative time in the past for the starting date
- Absolute time – Specify fixed start and end dates. You can either specify a time range or a single point in time. If you specify a single point in time, only single tag value at that point in time is retrieved
- Bound times – Specify that the values, which are currently assigned to the AFStartBinding and AFEndBinding named ranges, are used for the start and end times
Note: The Bound times option only appears if the Bound Tags of Type option is selected
in a data retrieval wizard.
14. Click Finish.
Retrieve Event Snapshot Values
You can retrieve event snapshot values only for snapshot tags that are associated with an event.
To retrieve event snapshot values, do the following:
1. Open a workbook.
2. In the cells, enter tag names.
Note: Use the Event Snapshot Tags Selection option to select snapshot tags.
3. On the Historian ribbon, click Tag Values, and then click Event Snapshot Values.

The Event Snapshot Values - Step 1 of 4 dialog box appears.
4. In the Server list, specify the name of the server, as required.
5. In the Select cell(s) containing an event tag name(s) list, specify the location of the
worksheet cell(s) that contains the event tag name(s).
6. In the Select cell(s) containing snapshot tag name(s) list, specify the location of the
worksheet cell(s) that contains the snapshot tag name(s).
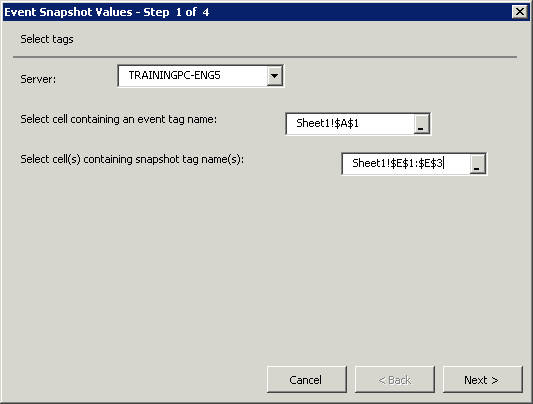
7. Click Next.
The Event Snapshot Values - Step 2 of 4 dialog box appears.
8. In the Select cell for output list, specify the location of the worksheet cell(s) that will contain
the output.
9. Check the Enter the results as an array-formula check box to insert the results as an array
formula.
10. Check the Select cells to specify format options check box to specify a range of cells that
contain formatting information. The formatting information in the cells will be applied to the
query results.
11. Click Next.
The Event Snapshot Values - Step 3 of 4 dialog box appears.
12. Configure the criteria for the query. You can configure one or more of the following criteria:
- Tag name
- Date time
- Include milliseconds
- Quality
- Replace poor quality values
- Detect date time
- OPC Quality
13. Click Next.
The Event Snapshot Values - Step 4 of 4 dialog box appears.
14. Configure the time for the query. You can configure one of the following time options:
- Bound times
- Relative time
- Absolute time
15. Click Finish.