Lab 11.2 Using Wonderware Historian Client Query Part 2
Build an Event Snapshot Query
In this section, you will query details from the Historian Server event data.
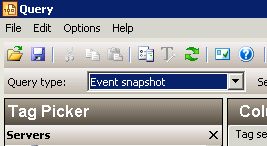
Step 28. In the Query type drop-down list, click Event snapshot.
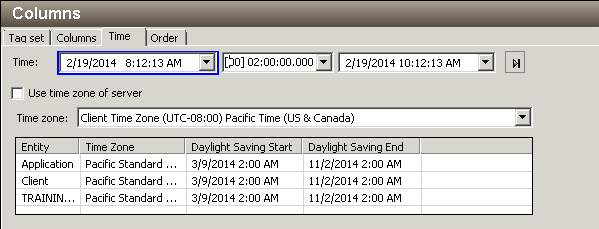
Step 29. In the Columns pane, click the Time tab.
Step 30. In the Duration drop-down list, select 2 hours.
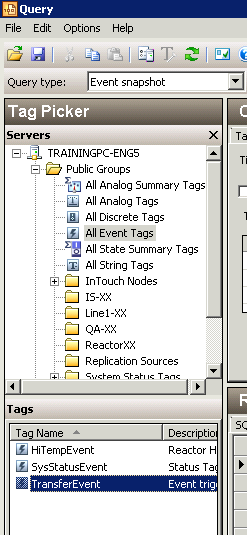
Step 31. In the Servers pane, click All Event Tags.
Step 32. In the Tags pane, click the TransferEvent tag.
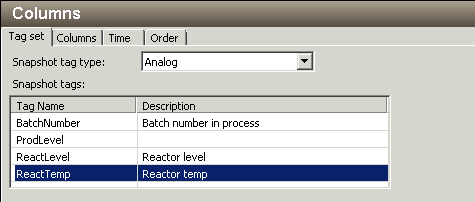
Step 33. In the Columns pane, click the Tag set tab.
Step 34. In the Snapshot tags list, click the ReactTemp tag.
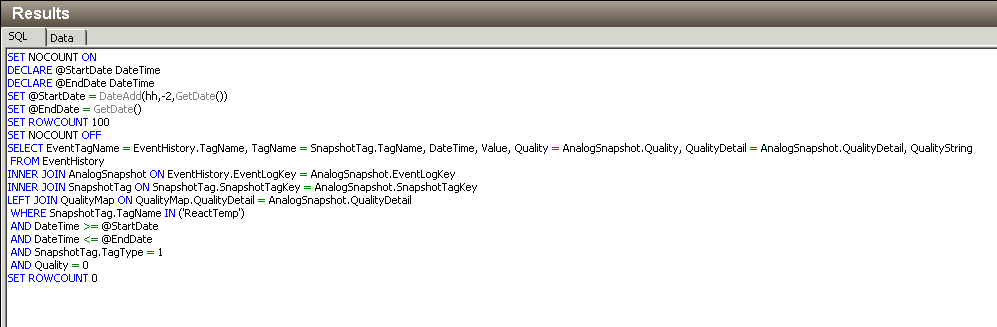
Step 35. In the Results pane, click the SQL tab. Review and analyze the SQL query.
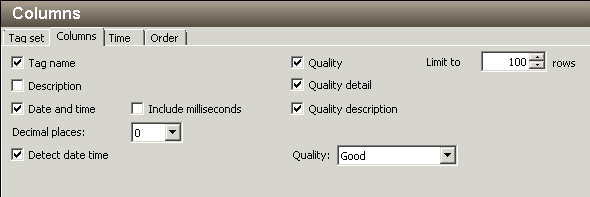
Step 36. In the Columns pane, click the Columns tab.
Step 37. Check the Detect date time check box.
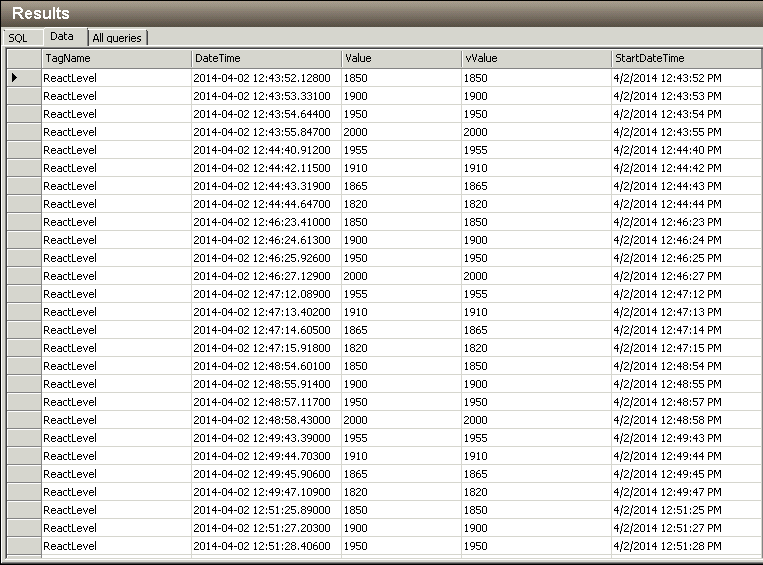
Step 38. Observe the results on the Data tab.
Build a Query to Retrieve Annotations
In this section, you will build a query to view the annotations that were created earlier in the class.
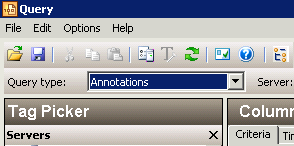
Step 39. In the Query type drop-down list, click Annotations.
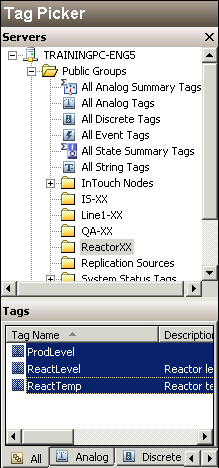
Step 40. At the bottom of the Tags pane, select the All tab. You may have to scroll to find it.

Step 41. In the Servers pane, select the Reactor-XX group.
Step 42. In the Tags pane, select the following tags:
- ProdLevel
- ReactLevel
- ReactTemp
Step 44. In the Columns pane, click the Time tab.
Step 45. In the Duration drop-down list, click 2 days.
This modifies the time span to enclose the time of the annotation.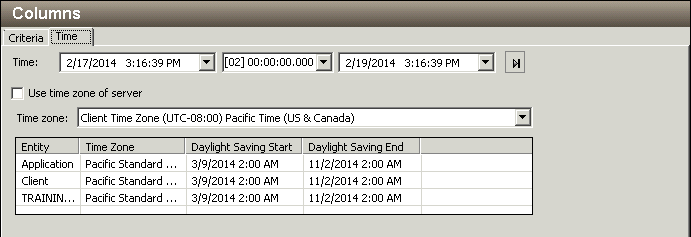
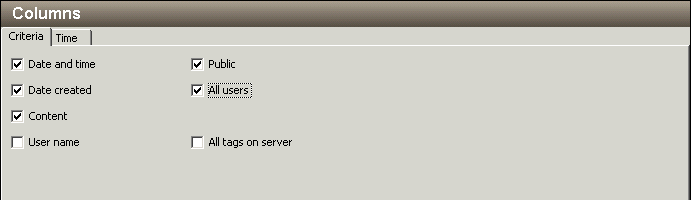
Step 46. Click the Criteria tab.
Step 47. Check the Public and All users check boxes.
Step 48. In the Results pane, click the Data tab to view the results.

Step 49. On the Columns pane Criteria tab, check the All tags on server check box to see if the results in the Data tab change.
Step 50. Uncheck the All tags on server check box.
Build a Query to Get Alarm Data Information
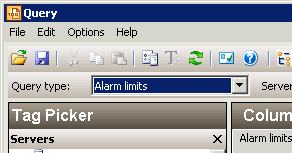
In this section, you will build a query to show alarm details and then use that information to build and save queries for later use.Step 51. In the Query type drop-down list, click Alarm limits.
Step 52. In the Tags pane, select the ReactLevel tag.

Step 53. Click the Data tab to view the result. Notice that the Hi value is 1800.
Wonderware Historian Client Query includes an option that records all the queries. Any query can be saved and referred to at a later time to create a report.
Step 54. On the Options menu, click All queries.
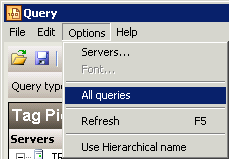
The All queries tab field will display all subsequent queries and make them available to be copied into other applications, or saved to the Queries folder.
Step 55. Change the Query type to History values and configure the following attributes:
In the Results pane, click the Data tab.
In the Results pane, click the Data tab.
Step 56. Save the results as Alarm Query.CSV to the C:\Training folder.

Step 57. Click the All Queries tab to view the SQL code generated since the All Queries option was enabled.
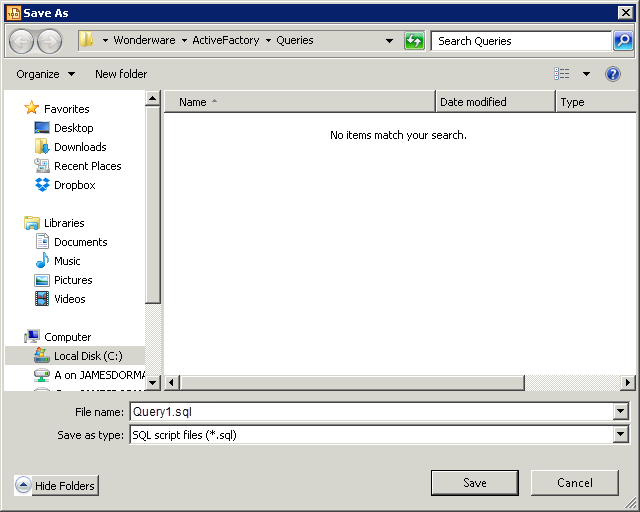
Step 58. Save the results as Query1.sql to the default folder.
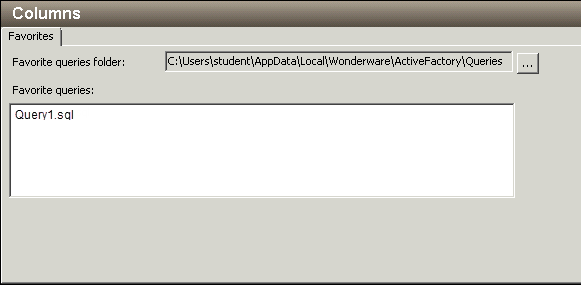
Step 59. On the Query type drop-down, select Favorites.
Step 60. Exit Wonderware Historian Client Query.
Last modified: Thursday, 14 May 2020, 9:07 AM