Topic 3.1: Communication with ModbusBridge
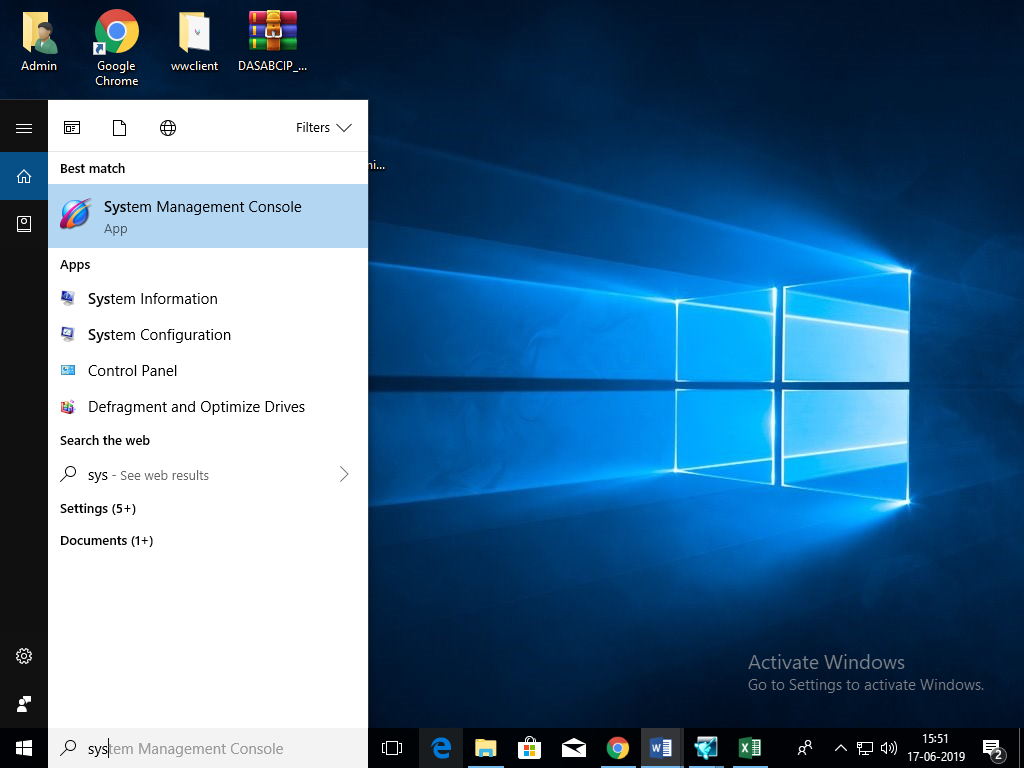
STEP 1: Open SMC from All program>Wonderware>System Management Console.
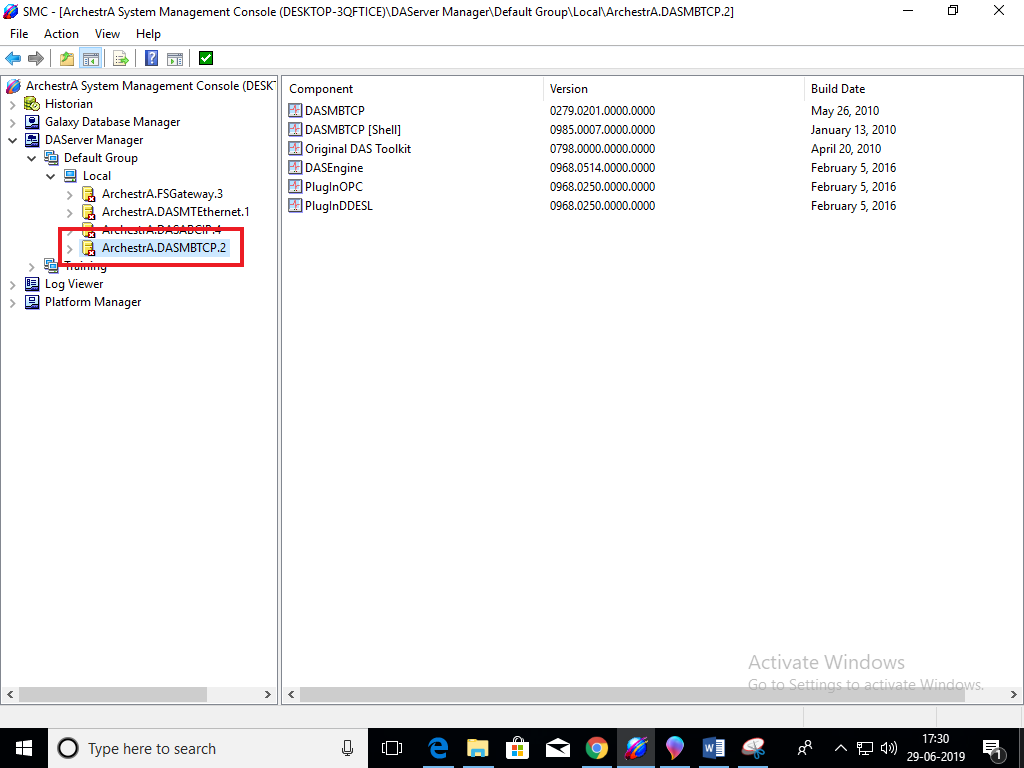
STEP 2: Expand the ArchestrA.DASMBTCP.2 icon's tree view. It is located under the Local Node in the DAServer Manager.
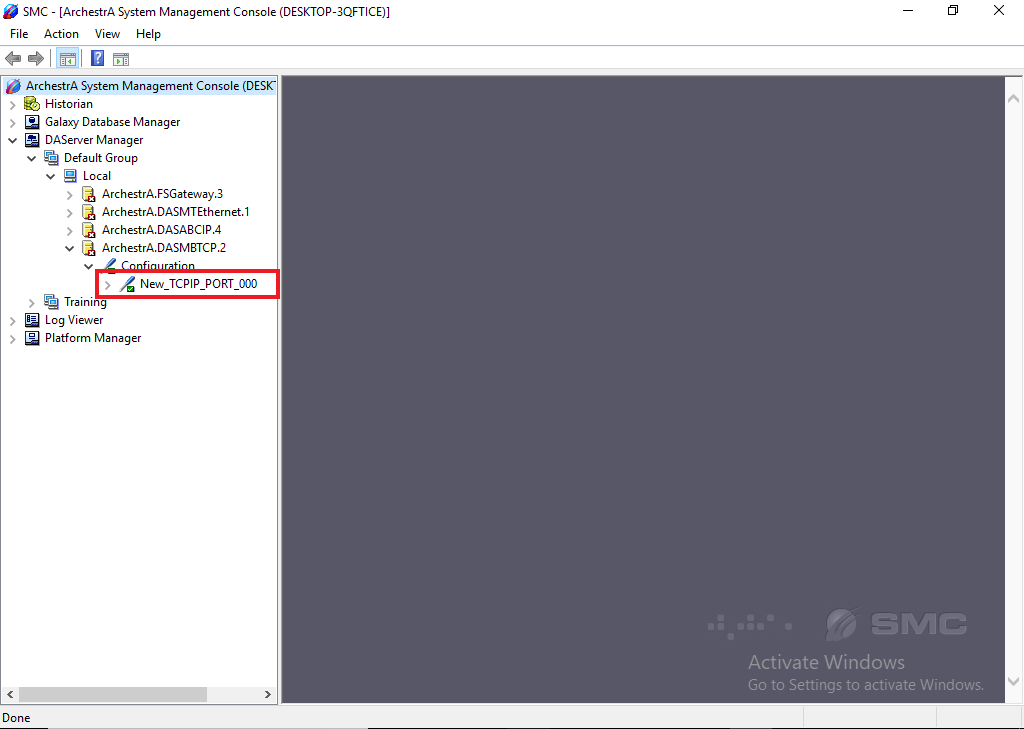
STEP 3: Expand ArchestrA.DASMBTCP.2 and Right click on Configuration and ADD “New_TCPIP_PORT_000”
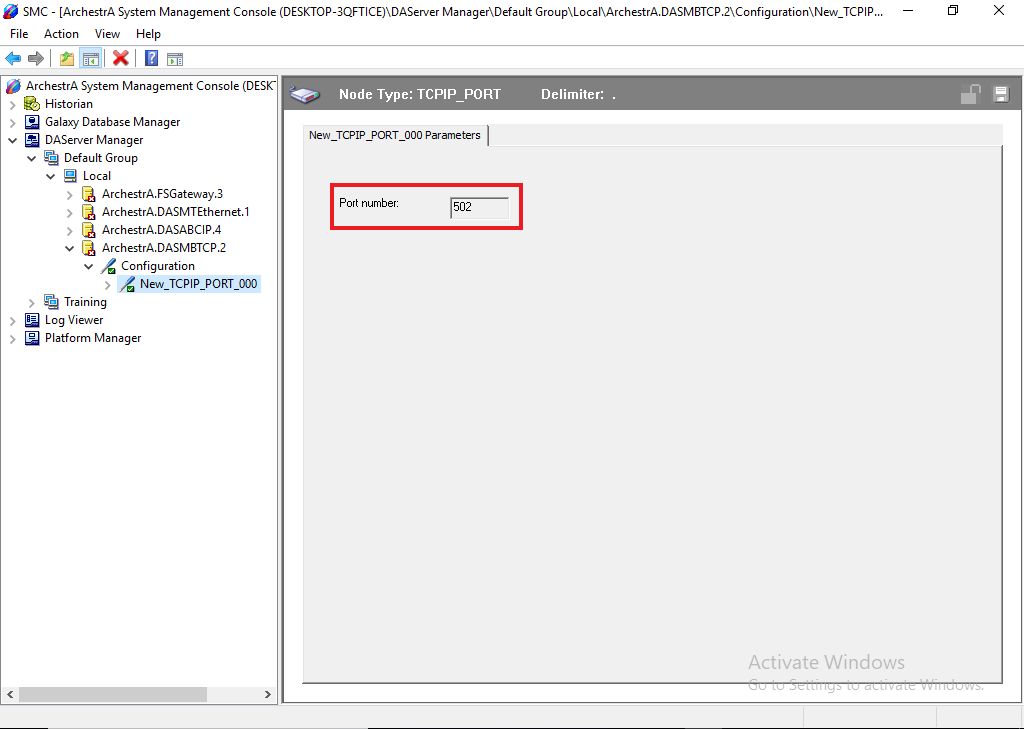
STEP 4: In TCPIP_PORT, Add Port Number: 502
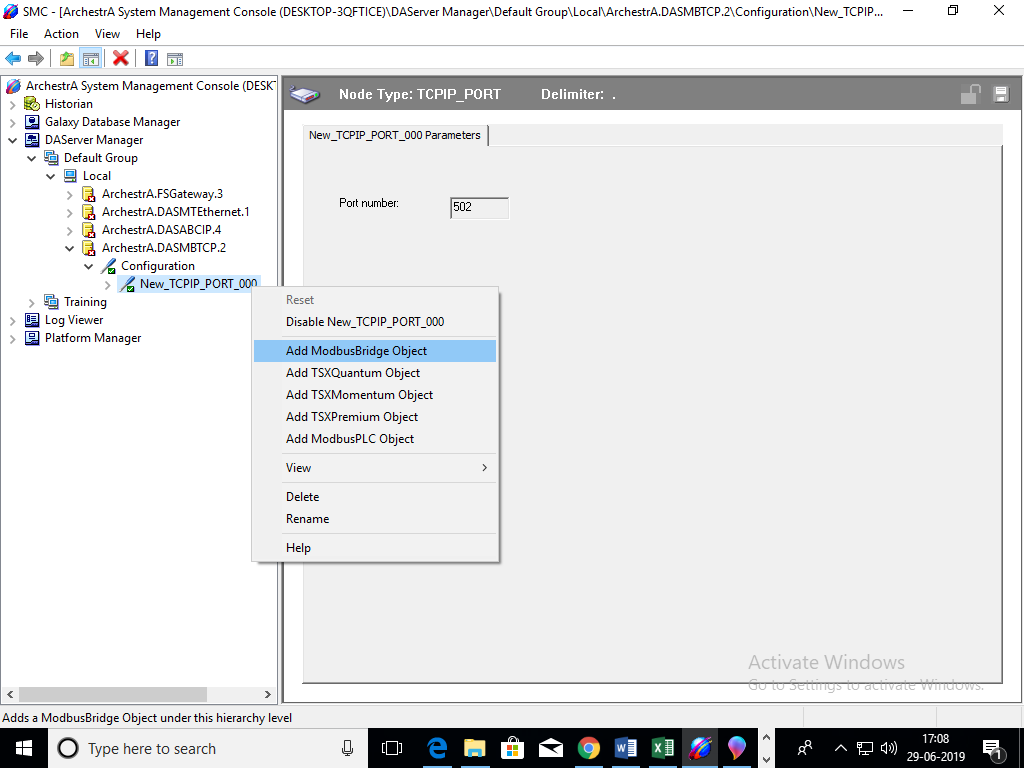
STEP 5: Right click on New_TCPIP_PORT_000 and Add “Add ModbusBridge Object”
STEP 6: Rename “ModbusBridge”
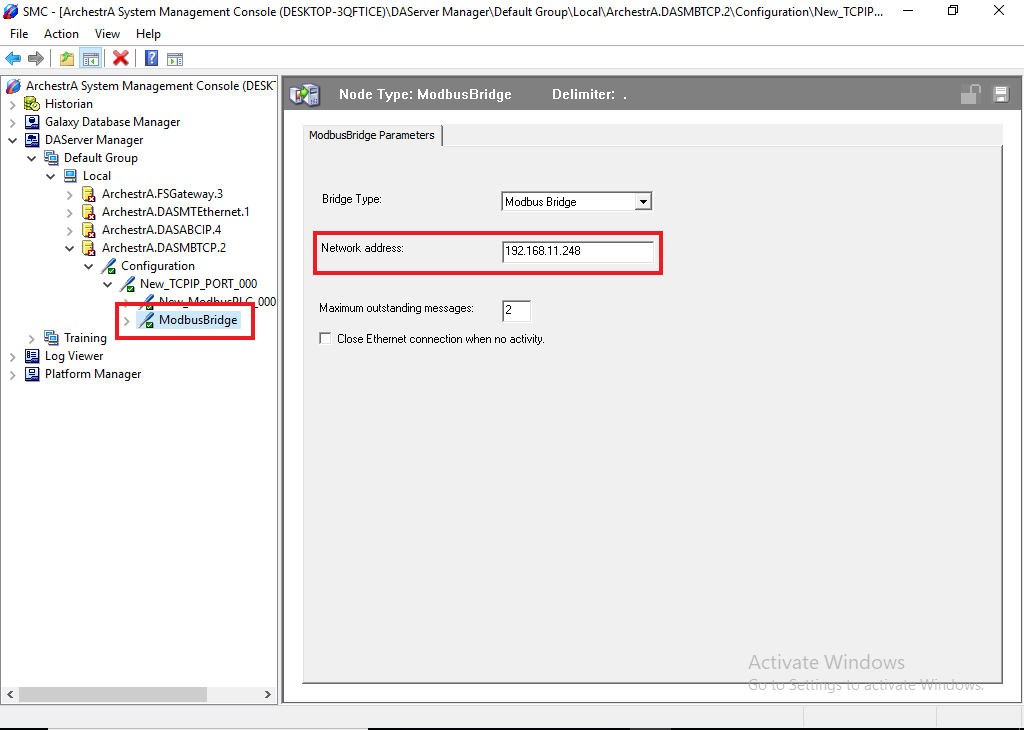
This configuration view has three configurable elements.
- Bridge type: From the drop-down menu, select the type of Communications Bridge to use for the connection to the TCP/IP Port.
- Network address: Enter the host name or IP address of the bridge.
- The number of characters should not exceed 255.
- The field cannot be blank. (The number of characters cannot be zero (0).
- The default value is 1.0.0.0.
- Maximum outstanding messages: Enter the maximum number of queued messages allowed in the Modbus Bridge.
In Network Address, Add IP Address of PLC.
Network Address: 192.168.11.248
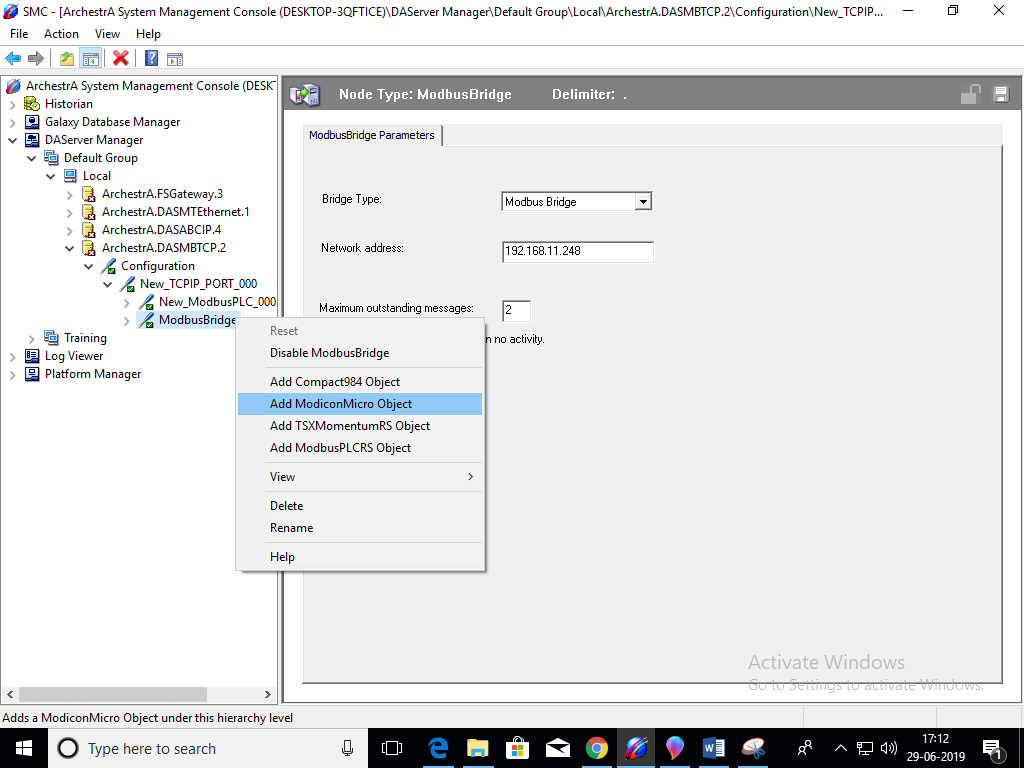
STEP 7: Right click on ModbusBridge and Add “Add ModiconMicro Object”
STEP 8: Rename “ModiconMicro”
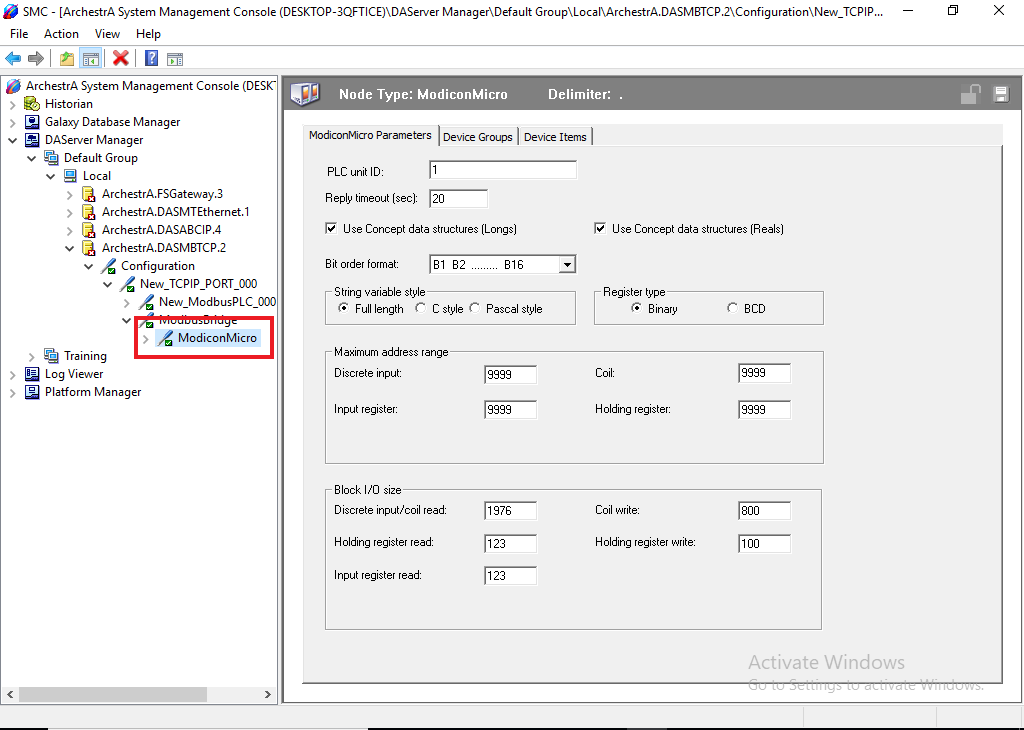
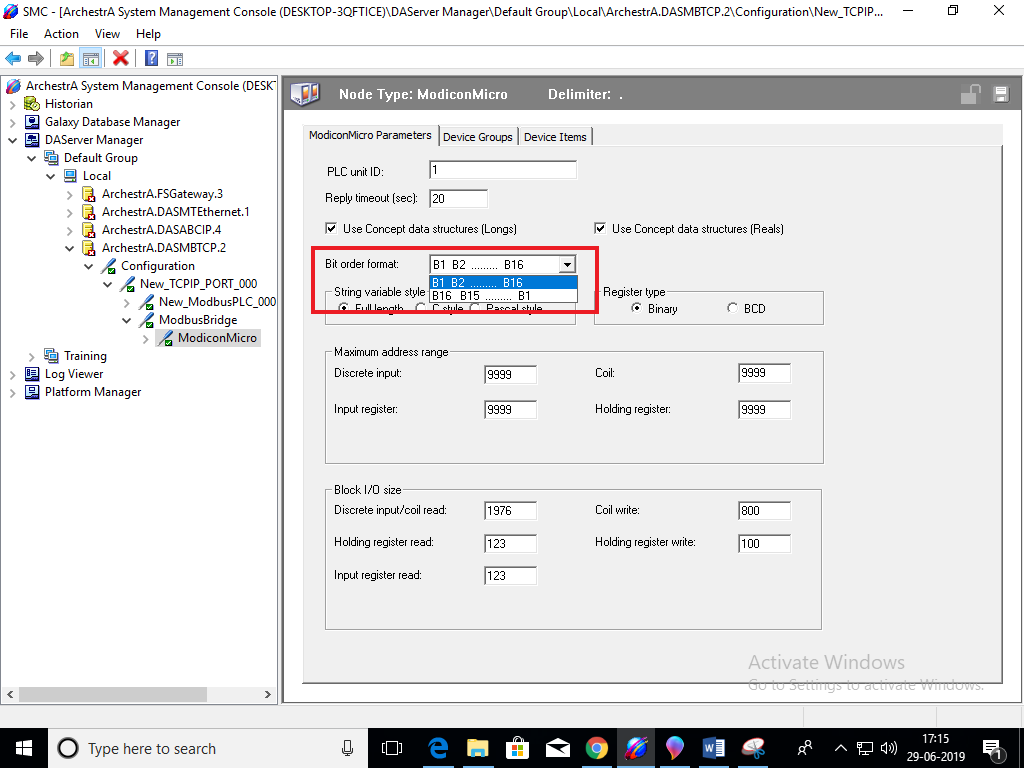
STEP 9: Select Bit order format as given by PLC.
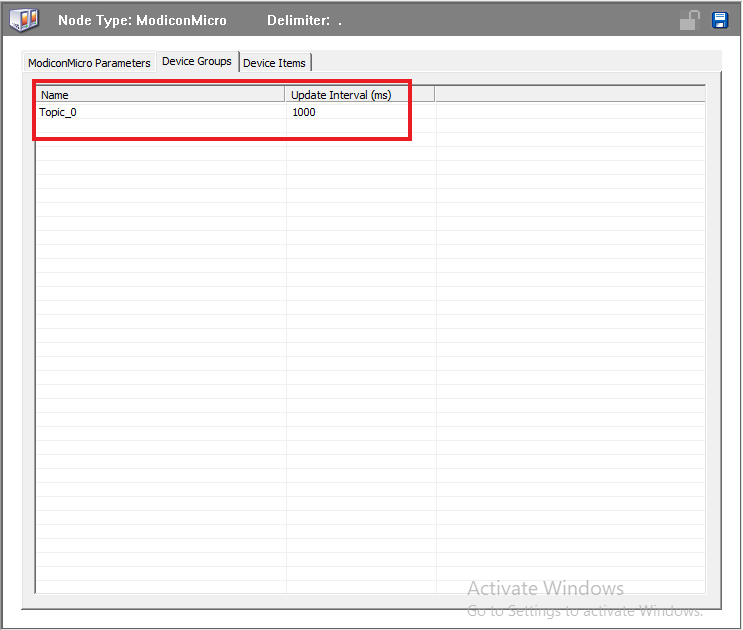
STEP 10: In Device Groups, Right click and Add New Device Group.
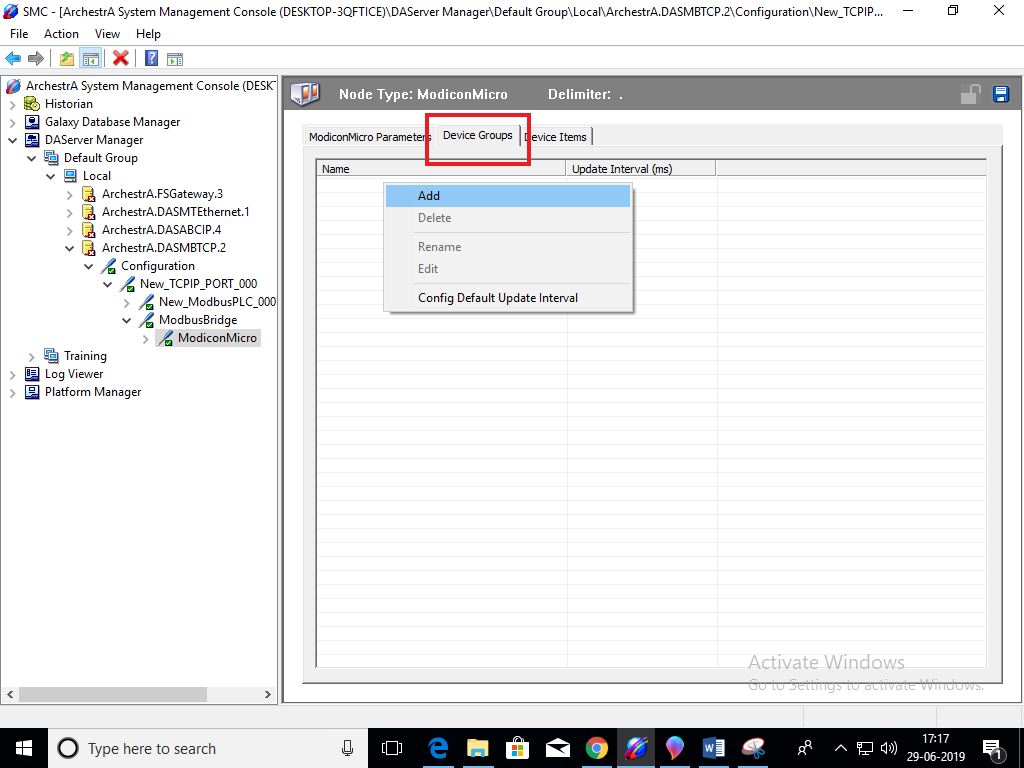
Give Name Topic_0.
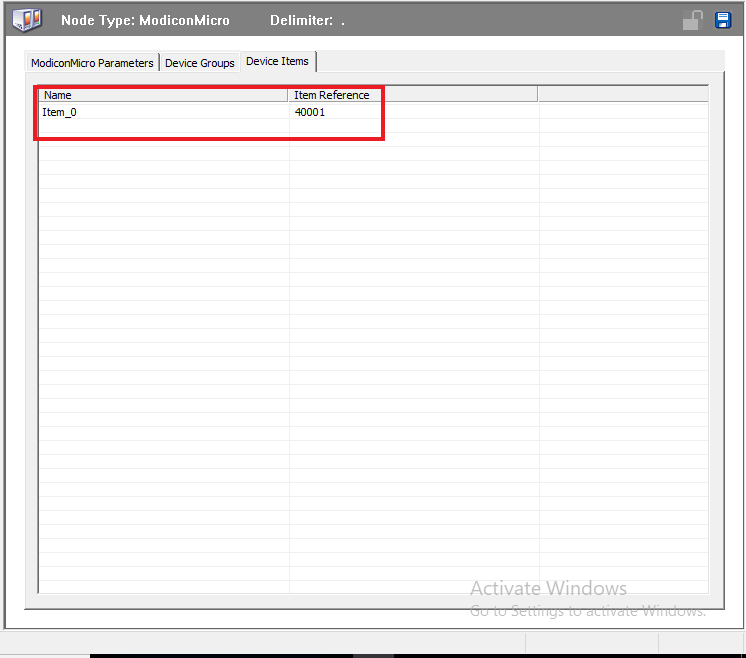
STEP 11: In Device Items, Right click and Add New Item.
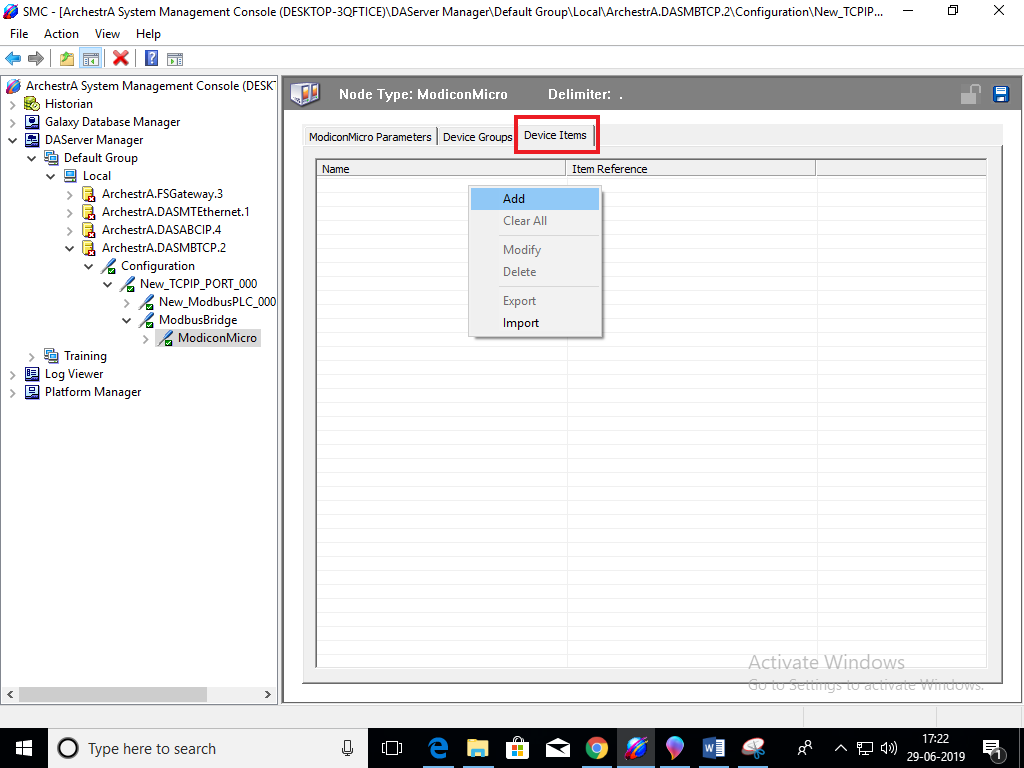
Give Name “Item_0” And In Item Reference, Give Item Reference of PLC: “40001”
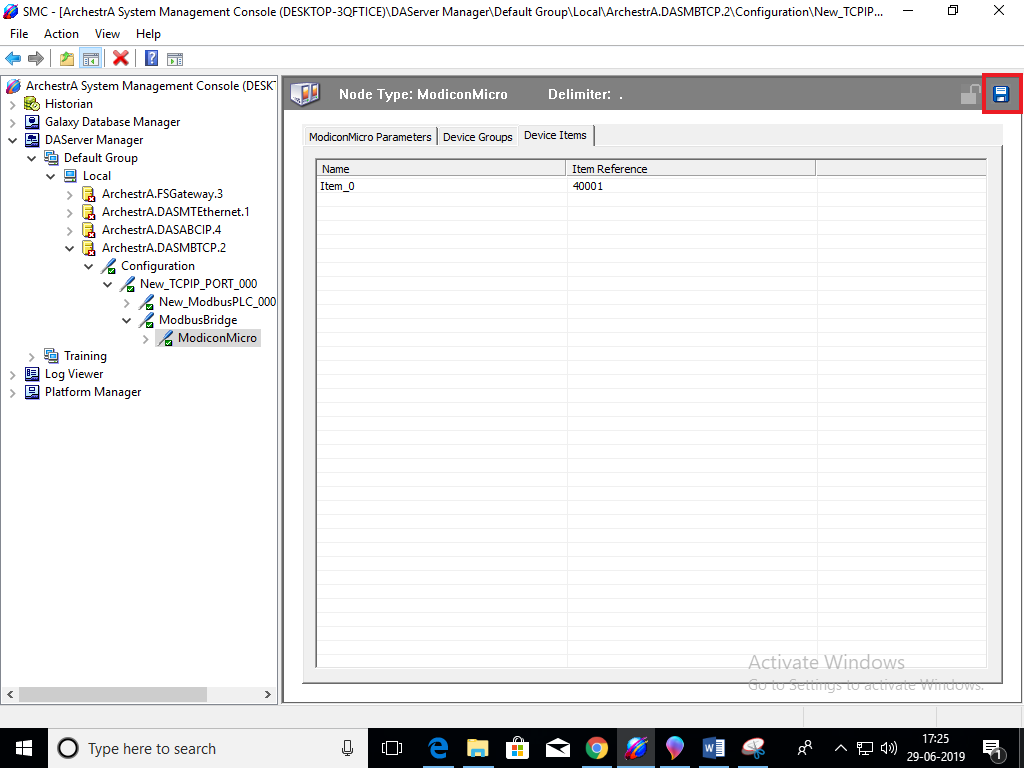
STEP 12: Click on Save button.
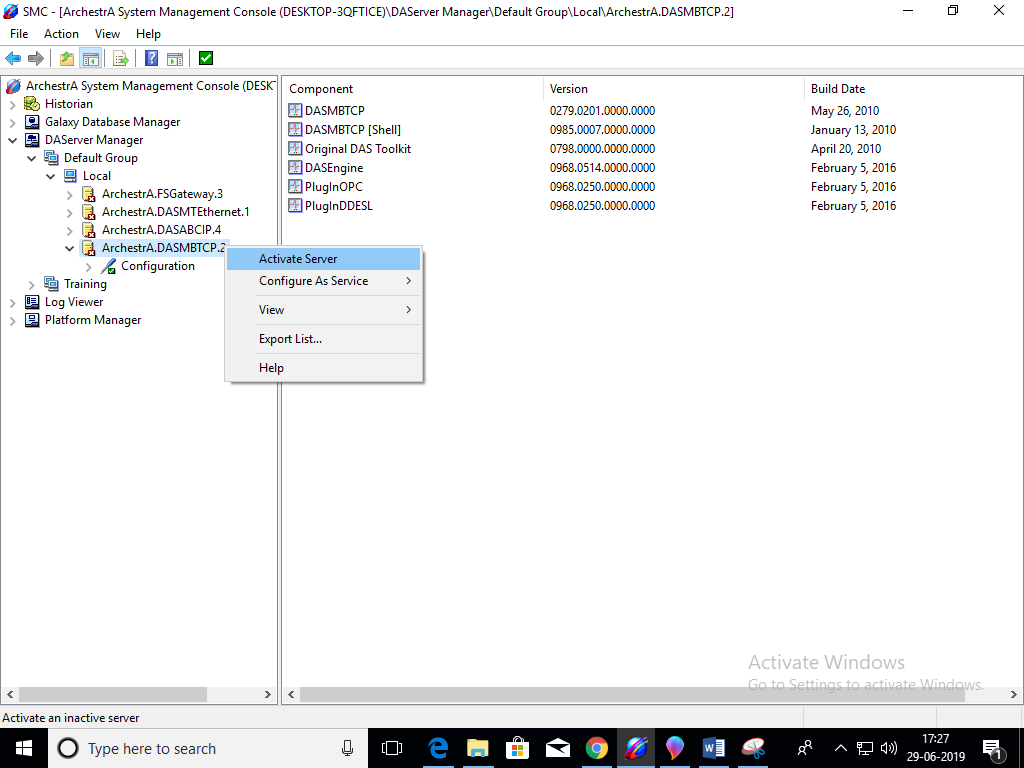
STEP 13: Right click on DASMBTCP and Click on Active server.