Lab 16.2 – Using Active Data Grid Part 2
Connect to the Historian Server
Step 16. In the Windows pane, right-click Active Data Grid and click Window Scripts.
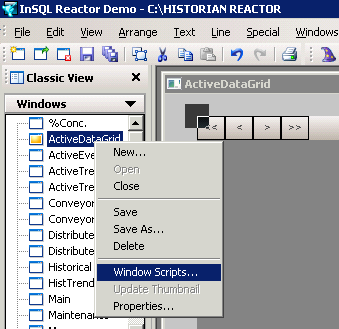
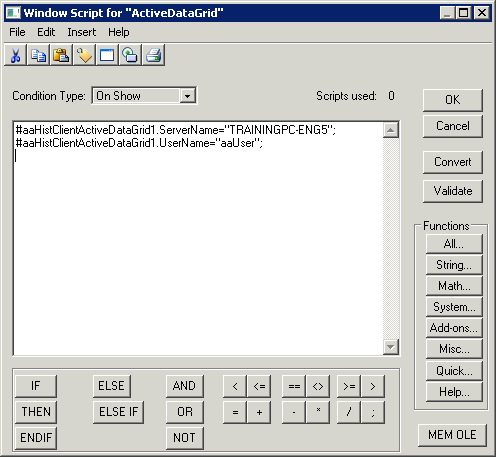
The Window Script for “Active Data Grid” dialog box appears.
Step 17. In the Condition Type: drop-down list, select On Show.
Step 18. Click Insert ActiveX Control.
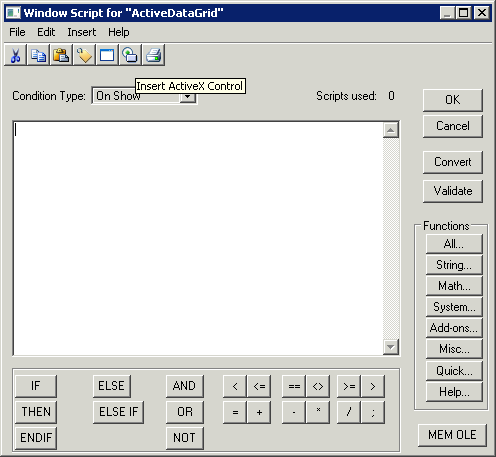
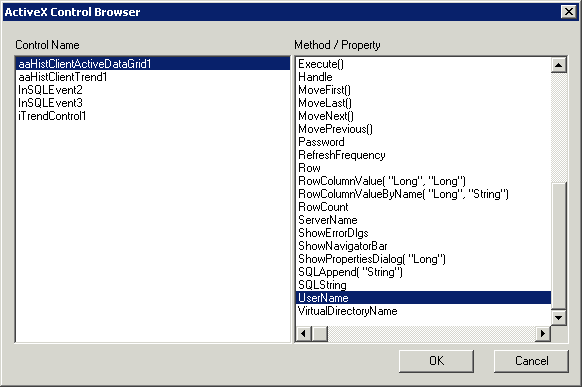
The ActiveX Control Browser dialog box appears.
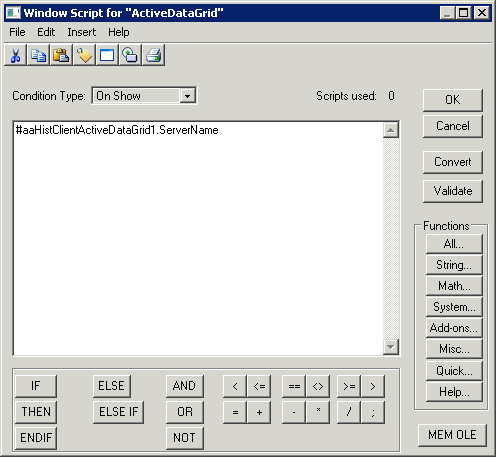
Step 19. In the Control Name pane, click aaHistClientActiveDataGrid1.
Step 20. In the Method / Property pane, click ServerName.

Step 21. Click OK.
The field in the Window Script for “Active Data Grid” dialog box now displays the script for the server name.
The field in the Window Script for “Active Data Grid” dialog box now displays the script for the server name.
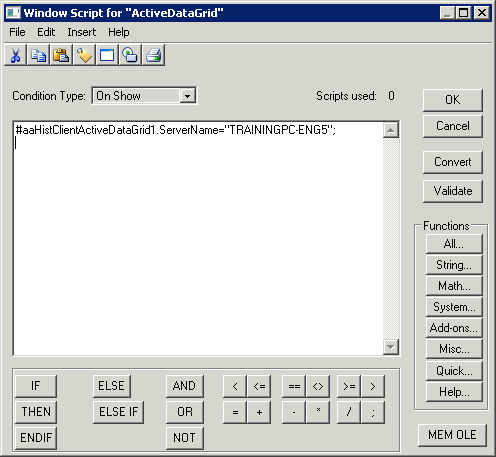
Step 22. In the field, after #aaHistClientActiveDataGrid1.ServerName, enter =“<the name of the Historian Server>”; and then press Enter at the end of the line.
Step 23. Click Insert ActiveX Control.
Step 24.In the Control Name pane, ensure that aaHistClientActiveDataGrid1 is selected.
Step 25.In the Method / Property pane, click UserName.
Step 26. Click OK.
The field in the Window Script for “Active Data Grid” dialog box now displays the script for the
user name.
Step 27. In the field displaying the script, after #aaHistClientActiveDataGrid1.UserName, enter = “aaUser”; and then press Enter.
Step 28. Click Insert ActiveX Control.
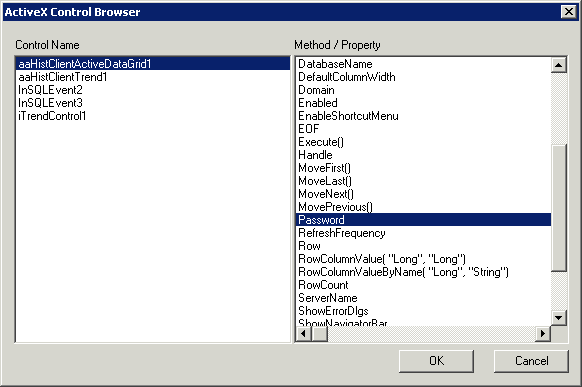
Step 29. In the Control Name pane, make sure that aaHistClientActiveDataGrid1 is selected.
Step 30. In the Method / Property pane, click Password.
Step 31. In the field displaying the script, after #aaHistClientActiveDataGrid1.UserName, enter = “pwUser”; and then press Enter.

Step 32. Click OK.
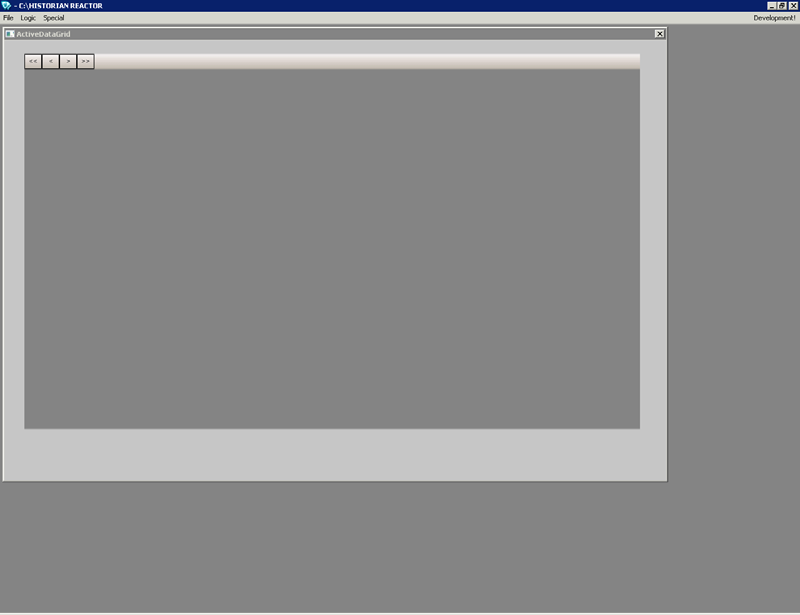
Step 33. Click Runtime.
The Active Data Grid window appears in the Runtime mode.
Last modified: Thursday, 4 July 2019, 1:48 PM