Lab 15.2 – Using the aaHistClientTrend Control Part 2
Insert the On Left Click/On Key Down Script Sample
This task will allow you to create an InTouch button that will add specific tags to the
aaHistClientTrend display pane, hide the navigation controls, and start a live trend.
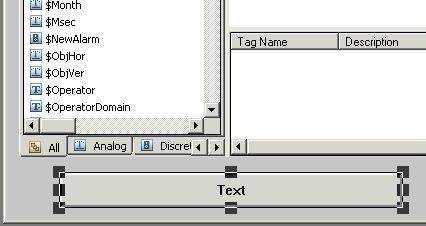
Step 22. In the TrendNew window, click the Button tool.

Step 23. Create a button and position it below the aaHistClientTrend control.
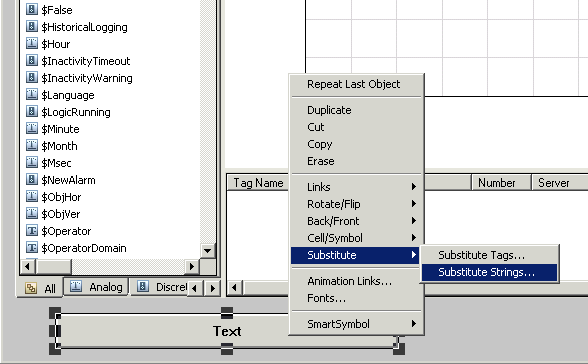
Step 24. Right-click the button and click Substitute | Substitute Strings.
Step 25. In the New String field, enter ChangeUI.
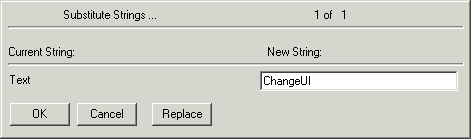
Step 26. Click OK.
Step 27. Double-click ChangeUI.

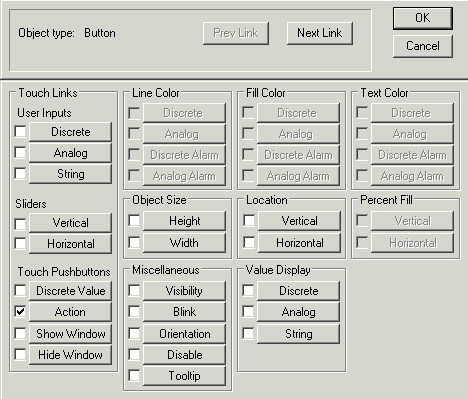
Step 28. Click the Action button.
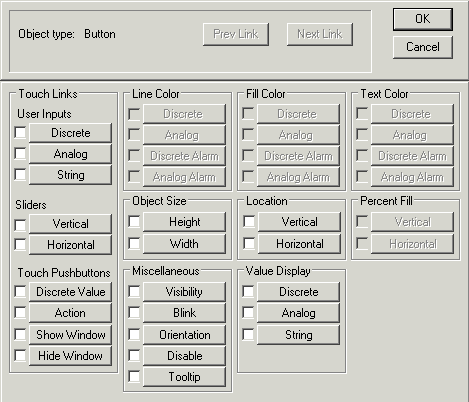
The Touch -> Action Script editor window appears.
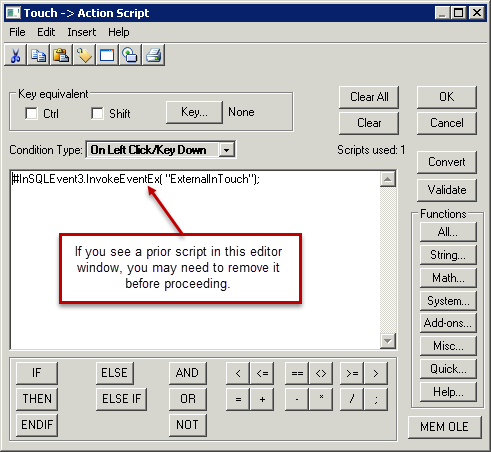
Note:If a prior script exists in the Touch -> Action Script editor window, you may need to clear this script before proceeding.
Step 29. On the Insert menu, click ActiveX.
The ActiveX Control Browser dialog box appears.
Step 30. In the Control Name pane, click aaHistClientTrend1.
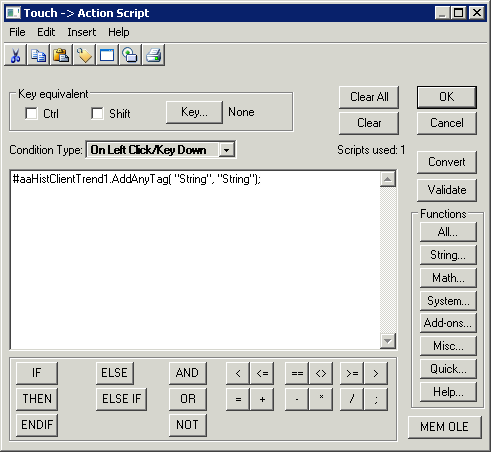
Step 31. In the Method / Property pane, click AddAnyTag( “String”, “String”).

Step 32. Click OK.
The AddAnyTag( “String”, “String”) method is added to the Touch -> Action Script editor window.
Step 33. Add a semicolon after #aaHistClientTrend1.AddAnyTag( “String”, “String”) to the end of the line.
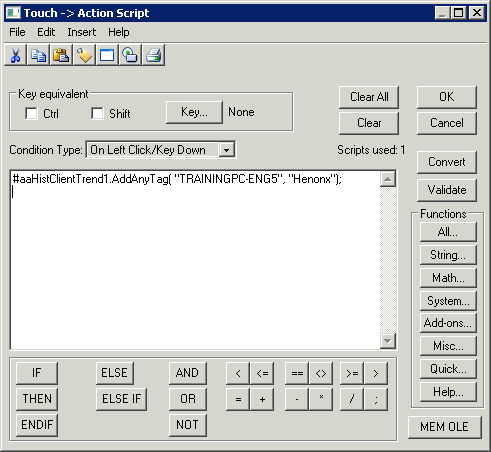
Step 34. Change the first “String” argument to the name of your Historian Server and the second
“String” argument to “Henonx.”
Step 35. Press Enter to add a new line.
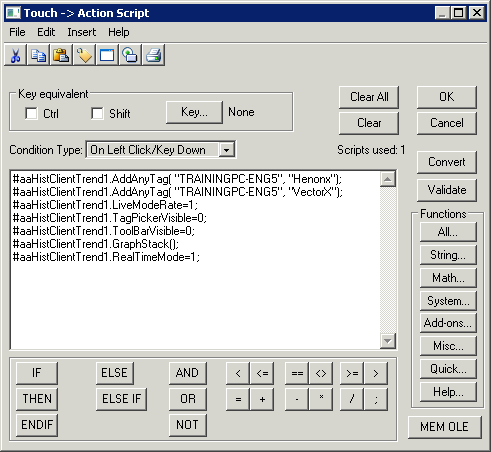
Step 36. Repeat the previous steps to insert the following methods and properties into the Touch -> Action Script editor window:
- AddAnyTag
- LiveModeRate
- TagPickerVisible
- ToolBarVisible
- GraphStack ()
- RealTimeMode
Edit the script as shown below, changing the arguments and value as indicated:
#aaHistClientTrend1.AddAnyTag("<HistorianServerName>", "Henonx"); #aaHistClientTrend1.AddAnyTag("<HistorianServerName>", "VectorX"); #aaHistClientTrend1.LiveModeRate=1;
#aaHistClientTrend1.TagPickerVisible=0;
#aaHistClientTrend1.ToolBarVisible=0;
#aaHistClientTrend1.GraphStack();
#aaHistClientTrend1.RealTimeMode = 1;
Step 37. Click OK.
The Animation Links Window displays.
Step 38. Click OK.
Step 39. Switch to the Runtime mode and click the ChangeUI button.
The aaHistClientTrend control interface should change to live mode and display only the specified tag and interface elements.
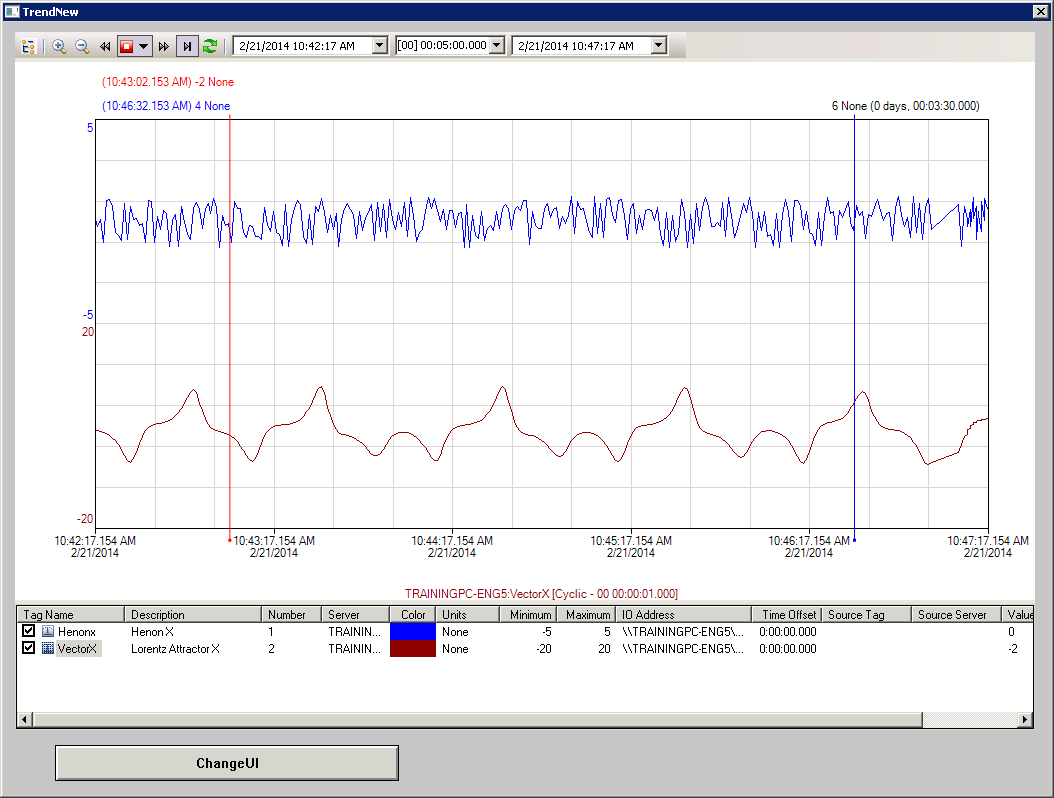
Step 40. Click the ChangeUI button.
The other data is displayed.

At this point, you can still modify the interface by right-clicking the control and selecting submenu options.
Step 41. Right-click the Runtime interface and explore the menu options presented.
Step 42. Click Development to switch back to WindowMaker.
Step 43. Close the TrendNew Window.
Last modified: Thursday, 4 July 2019, 1:47 PM