Lab 15.1 – Using the aaHistClientTrend Control Part 1
Create a New InTouch Window
Step 1. Start InTouch WindowMaker (Start | All Programs | Wonderware | WindowMaker).
Step 2. On the WindowMaker File menu, click New Window.
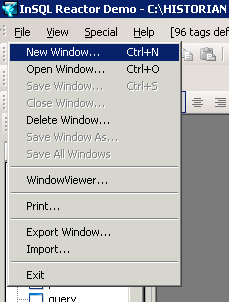
The Window Properties dialog box appears.
Step 3. In the Name field, enter TrendNew.
Step 4. Ensure that the Size Control check box is checked. Leave the rest of the properties unchanged.
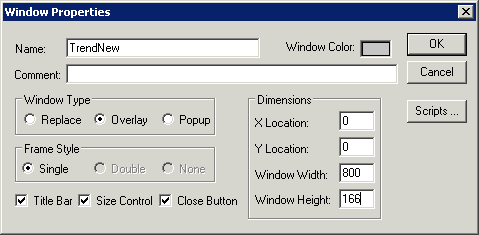
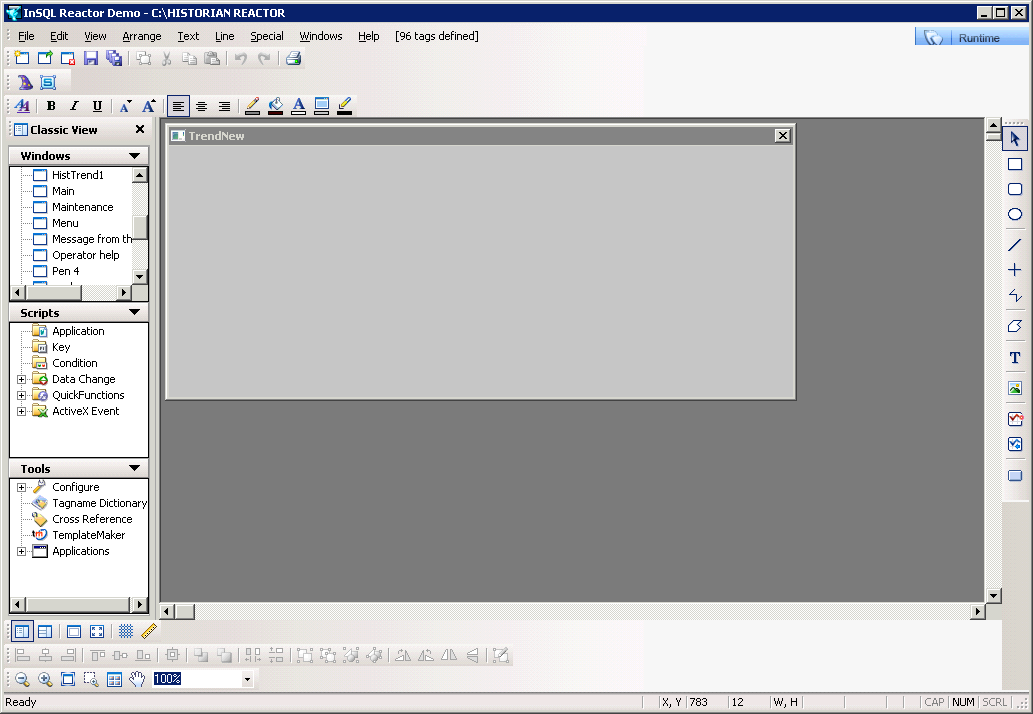
Step 5. Click OK.
The TrendNew window opens within InTouch WindowMaker.
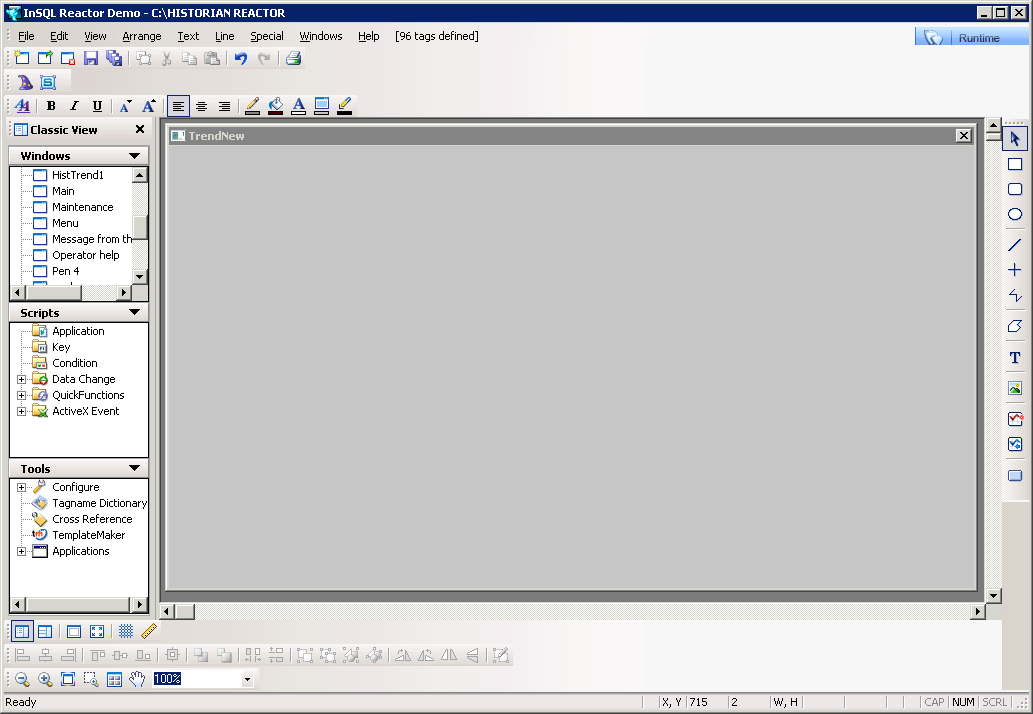
Step 6. Drag the lower-right corner of the TrendNew window to resize it.
Step 7. On the Special menu, click Configure | Wizard/ActiveX Installation.
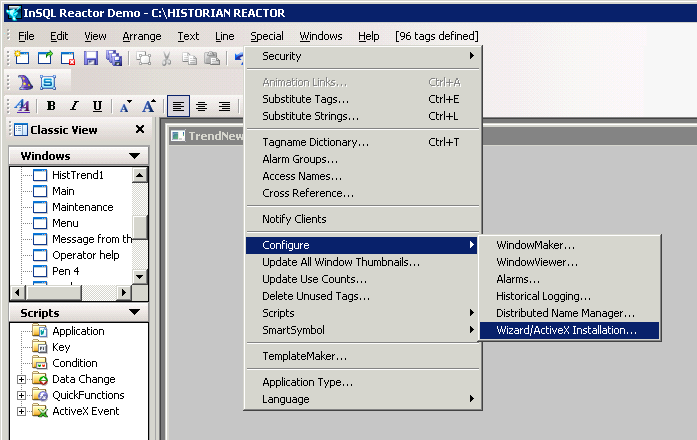
The Wizard/ActiveX Installation dialog box appears.
Step 8. Click the ActiveX Control Installation tab.
Step 9. In the Available ActiveX controls pane, click aaHistClientTrend Control.
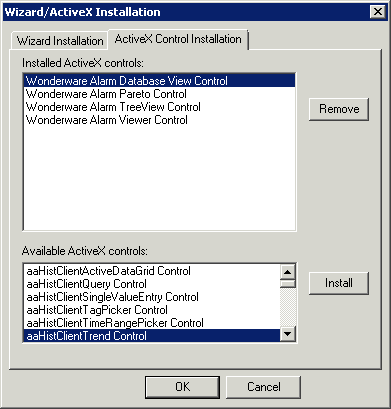
Step 10. Click Install.
The control name appears in the Installed ActiveX controls pane.
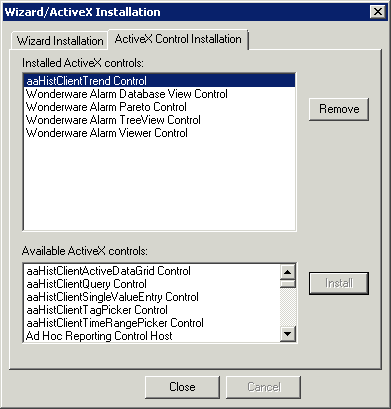
Step 11. Click Close.
Step 12. On the WindowMaker toolbar, click Wizards.
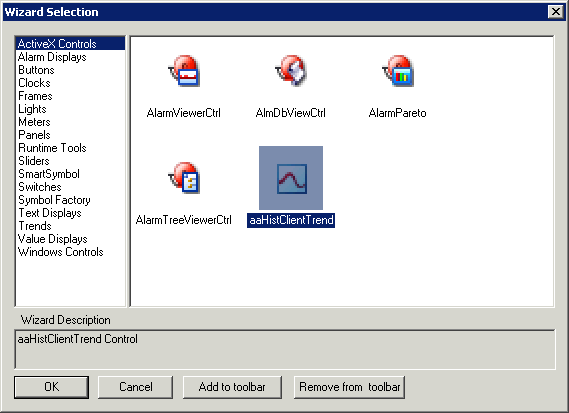
The Wizards Selection dialog box appears, with ActiveX Controls selected by default in the left pane.
Step 13. In the right pane, double-click aaHistClientTrend.
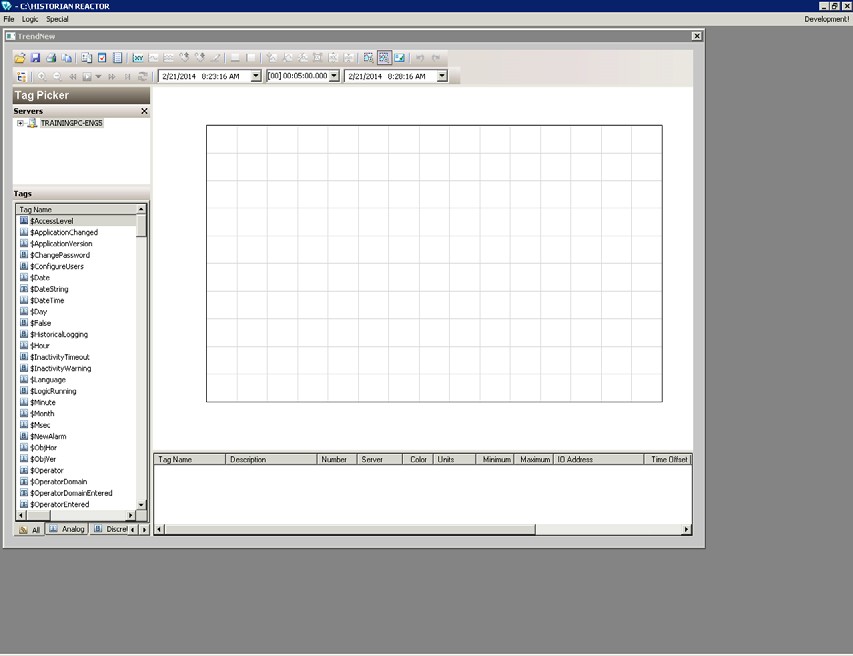
The TrendNew window appears. The cursor changes to look like this: 
Step 14. Click anywhere within the TrendNew window to insert the aaHistClientTrend control. The control is inserted into the TrendNew window displaying its sizing handles.
Step 15. Resize the control as necessary.

Step 16. Click Runtime to switch to the Runtime mode.
The control has no main menu and several of the toolbar buttons are active.
Step 16. Click Runtime to switch to the Runtime mode.
Step 17. In the Servers pane, click the Historian Server name.
Step 18. At the bottom of the Tags pane, select the Analog tab.
Step 19. In the Tags pane, click VectorX.
Step 20. Drag the VectorX tag to the Tag List.
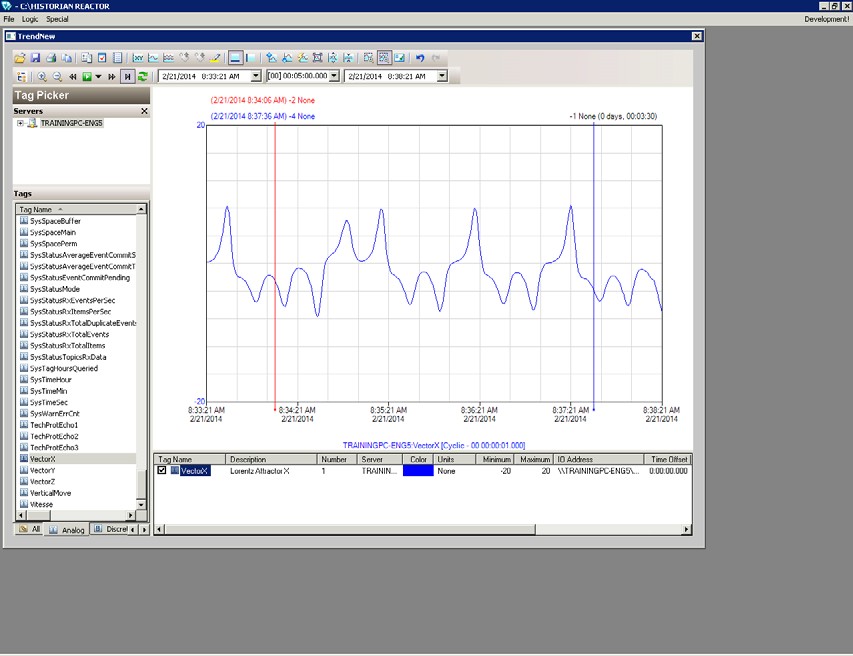
The aaHistClientTrend control is now fully functional.
Step 21. Click Development  to switch back to WindowMaker.
to switch back to WindowMaker.Last modified: Thursday, 4 July 2019, 1:47 PM