Lab 12 – Using Wonderware Historian Client Query in Workbook
Build Embedded Query
Step 1. Open Wonderware Historian Client Workbook (Start | All Programs | Wonderware |
Historian Client | Workbook).
Step 2. On the Historian menu ribbon, click Direct Query.
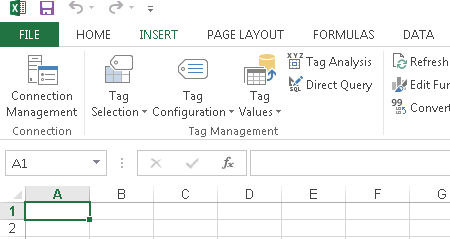
The Direct Query dialog box appears.
Step 3. In the Direct Query dialog box, click Click to bring up the Query Form.
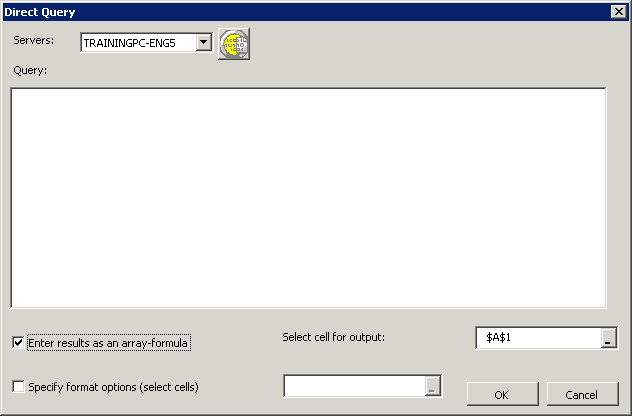
The Wonderware Historian Client Query window appears.
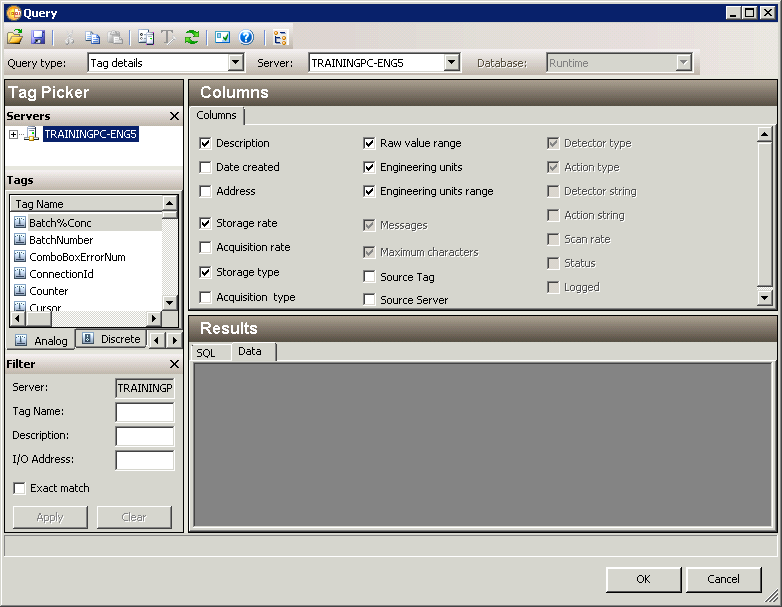
Step 4. In the Query type drop-down list, click History values.
Step 5. In the Tags pane, select the following tags:
- BatchNumber
- ProdLevel
- ReactLevel
- ReactTemp
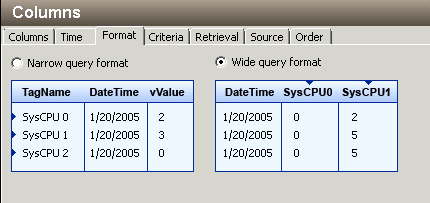
Step 6. In the Columns pane Format tab, select the Wide query format option.
Step 7. In the Results pane, view the results on the Data tab.
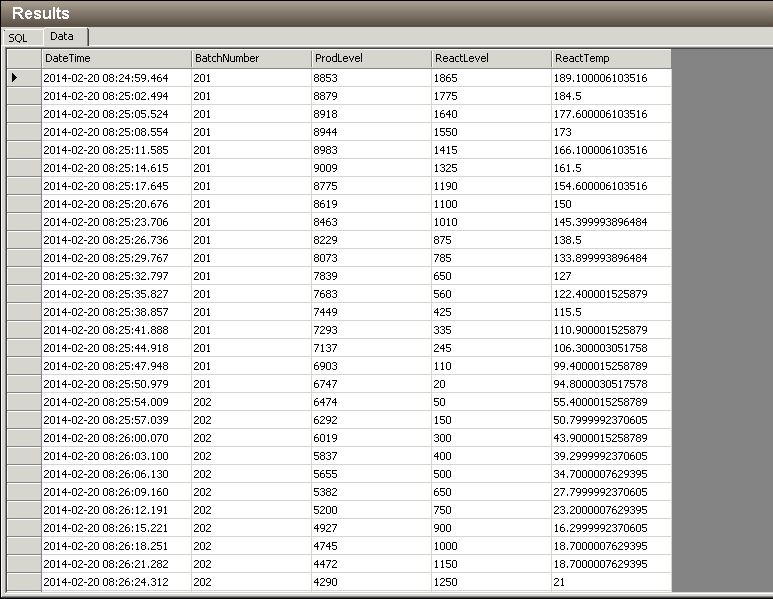
Step 8. In the Query window, click OK.
You return to the Direct Query dialog box, which now contains the query you built.
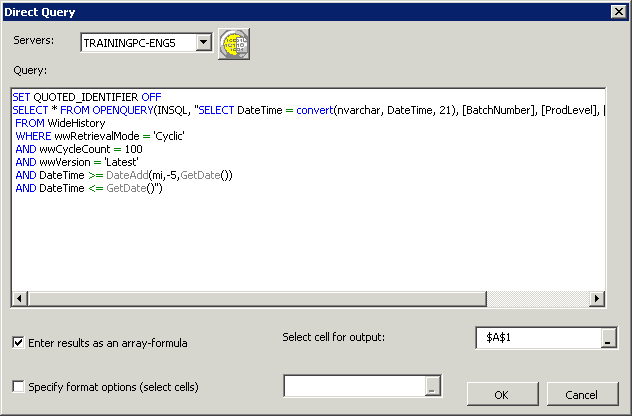
Step 9. Click OK.
The results appear on the worksheet in the selected format.

Step 10. Save the workbook as Query Builder.xlsx
Last modified: Thursday, 4 July 2019, 1:49 PM