Lab 6.2 – Using Historian Client Workbook Basic Functions Part 2
Insert a History Value Function
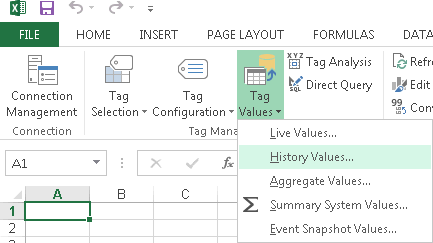
Step 25. On the workbook, click the Sheet2 worksheet.

Step 26. On the Historian menu ribbon, click Tag Values, and then click History Values.
The History Values wizard appears.
Step 27. In the History Values - Step 1 of 4 dialog box, ensure that the Select cell(s) containing tag name(s) field contains the reference to the two tags ReactLevel and ReactTemp from Sheet1.
In this example, the cell reference is Sheet1!$A$4:$A$5.
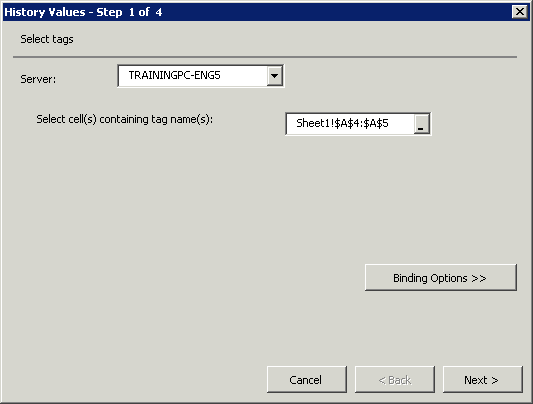
Step 28. Click Next.
The History Values - Step 2 of 4 dialog box appears.
Step 29. In the History Values - Step 2 of 4 dialog box, ensure that the Select cell for output field contains $A$1 and that the Enter the results as an array-formula check box is checked (default).
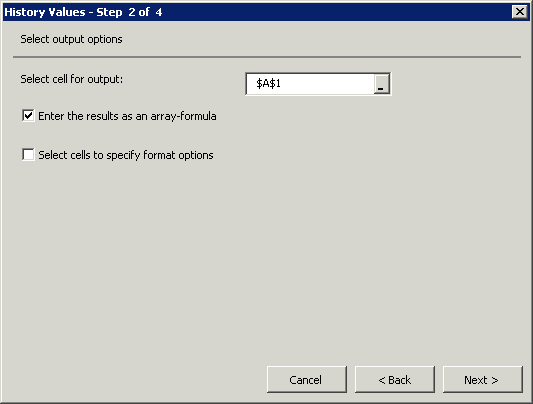
Step 30. Click Next.
The History Values - Step 3 of 4 dialog box appears.
Step 31. Click More >> to see all the display options.
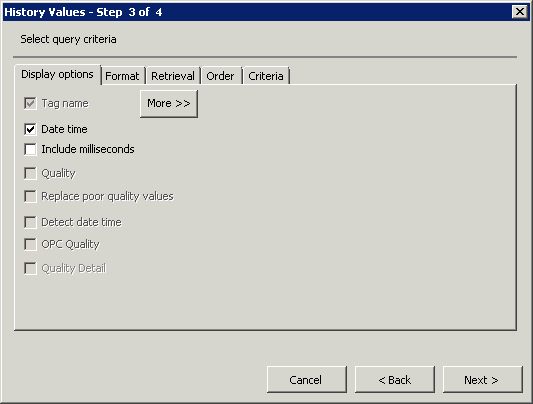
The History Values - Step 3 of 4 More dialog box appears.
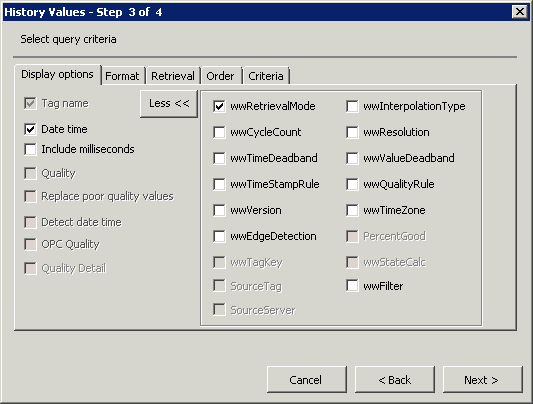
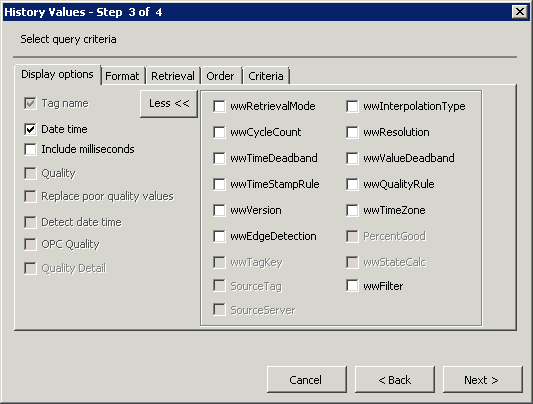
Step 34. Uncheck the wwRetrievalMode check box.
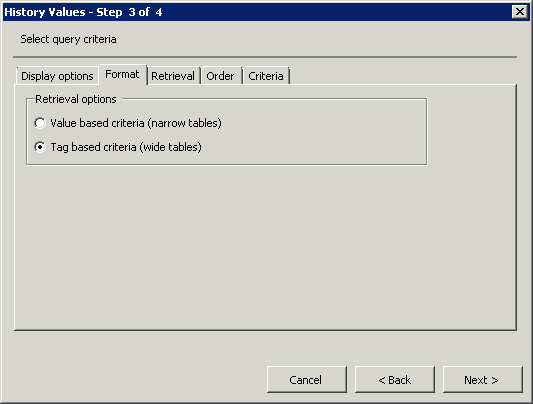
Step 33. Click the Format tab.
Step 34. Verify that the Tag based criteria (wide tables) option is selected.
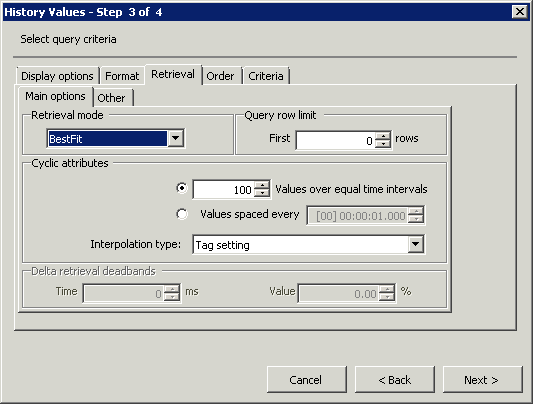
Step 35. Click the Retrieval tab.
Step 36. Change the Retrieval mode to BestFit.
Step 37. Verify that the Values over equal time intervals is set to 100.
Step 38. Click Next.
The History Values - Step 4 of 4 dialog box appears.
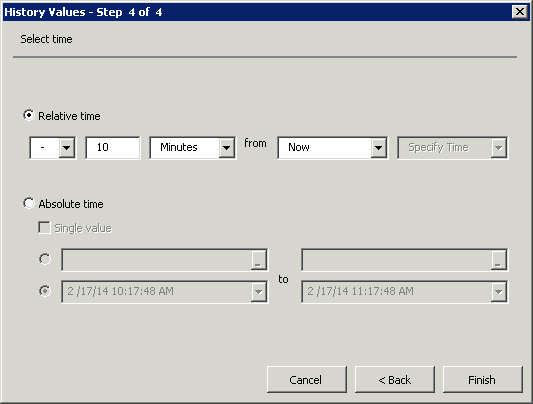
Step 39. In the History Values - Step 4 of 4 dialog box, retain the default Relative time value as - 10 Minutes from Now.
This defines the relative time period of the query function.
Step 40. Click Finish.
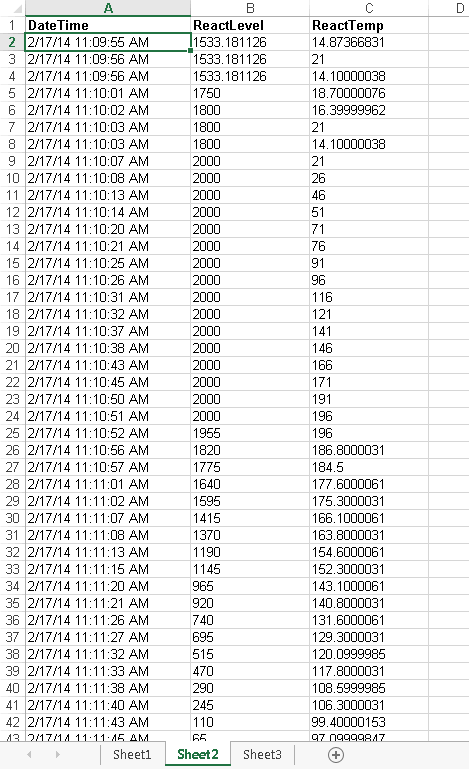
The query returns the values for the specified time period using the BestFit retrieval mode.
Step 41. Save MyReport.xlsx.
Step 42. From the File Menu, click Close to close MyReport.xlsx.
Last modified: Thursday, 4 July 2019, 1:51 PM