Lab 2.1 – Configuring Public Groups and Trend Sets Part - 1
Create Public Groups Tags
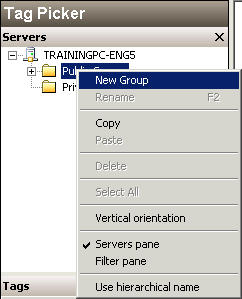
Step 1. In the Servers pane, expand Historian Server tree, right-click the Public Groups folder, and then click New Group.
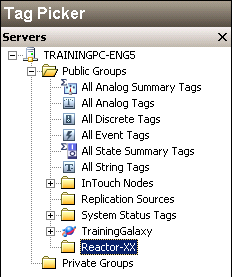
Step 2. Name the new group Reactor-XX, where XX is the student number assigned to you.
Step 3. Right-click the Historian Server name and then click Filter pane.
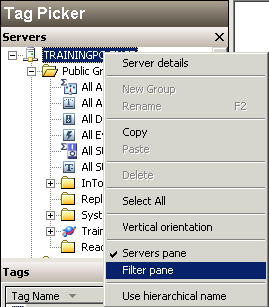
The Filter pane appears at the bottom of the Tag Picker.
Step 4. In the Tag Name field, enter React.
Step 5. Click Apply.
Tag names containing “React” are displayed in the Tags pane.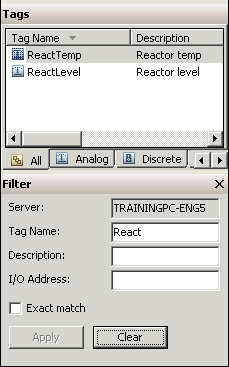
Step 6. Select and drag the tags ReactLevel and ReactTemp into the Reactor-XX group.

Step 7. In the Filter pane, search for the ProdLevel tag.
Step 8. Select and drag the ProdLevel tag into the Reactor-XX group.
Step 9. In the Filter pane, click Clear.

Step 10. Click the Reactor-XX group to see the tags that are in the new group. The selected tags display in the new group.
Step 11. Create a new trend, and drag the Reactor-XX group on the trend chart.
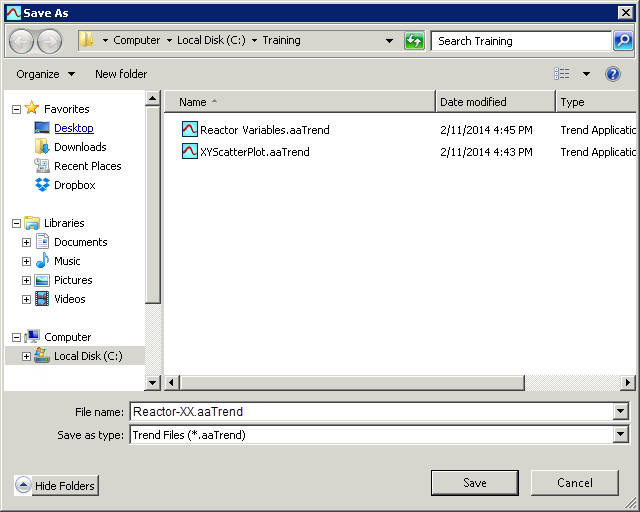
Step 12. Save the trend as Reactor-XX.aaTrend.
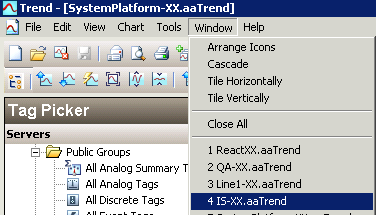
Step 13. On the Window menu, click IS-XX.aaTrend.
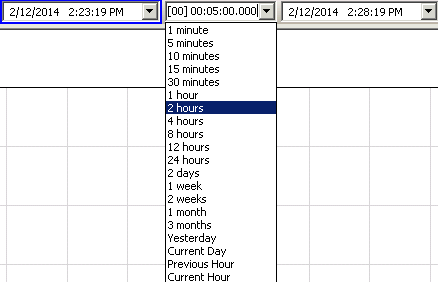
Step 14. In the Duration drop-down list, click 2 hours.
Step 15. On the Main toolbar, click Stack the tag traces to create a better view of the event and string tags.
Notice the string and event tag symbols.
Step 16. On the File menu, click Save.
Last modified: Thursday, 4 July 2019, 1:53 PM