Lab 13.2 – Insert Latest Data - Part2
Insert Latest Data
Now, you will insert Latest data for the M100.LT.PV tag and verify that versioning has taken place.
Step 16. Download Lab 13 - Latest.csv

Step 17. Right-click Lab 13 - Latest.csv and select Open With | Notepad.
Step 18. Change the time stamps in the CSV file with a time and date from yesterday following the procedure described in Steps 3 to 8.
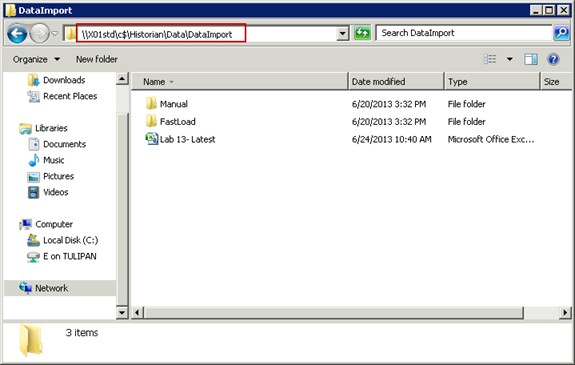
Step 19. Copy the file to the \\[Tier-1 Historian Server node name]\C$\Historian\Data\DataImport
folder.
After a moment, the file will disappear.
Step 20. Go back to the SQL Server Management Studio and adjust the date and time of the query to match the inserted data.
Step 21. Select and execute the query.
Notice that for the specific date and time inserted, if there was no original value then only the latest value exists, no original version.Manually Update Data
Now, you will update the M100.LT.PV tag history data with a couple of constant values for a 10- minute period and verify that versioning has taken place.Step 22. Download Lab 13 - Update.csv

Step 23. Right-click Lab 13 - Update.csv and select Open With | Notepad.
Step 24. Take note of the date and time and DO NOT change it.
Notice the file will insert the values 40 and 80 for a period of 5 minutes each.Copy the file to the \\[Tier-1 Historian Server node name]\C$\Historian\Data\DataImport
folder.
After a moment, the file will disappear.
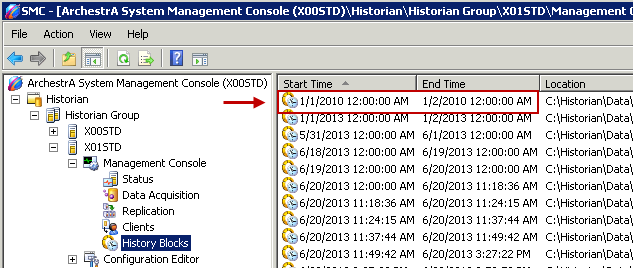
Step 25. Go to the SMC and expand Historian\Historian Group\[Tier-1 Historian Server node name]\Management Console\History Blocks.
Step 26. Notice that a new history block has been created to cover the date and time affected by the manual import.
Step 27. Go to the SQL Server Management Studio and modify the query to match the date and time affected by the import.
Step 28. Run the query.
Notice the values inserted are versioned as Latest.Last modified: Saturday, 22 June 2019, 9:07 AM