Lab 10.1– Add a New Replication Server
Add a New Replication Server
First, you will add the Tier-2 Historian Server as a new replication server. In this process, you will modify the default replication tag name scheme and replace the use of the tag name for the use of the hierarchical name.
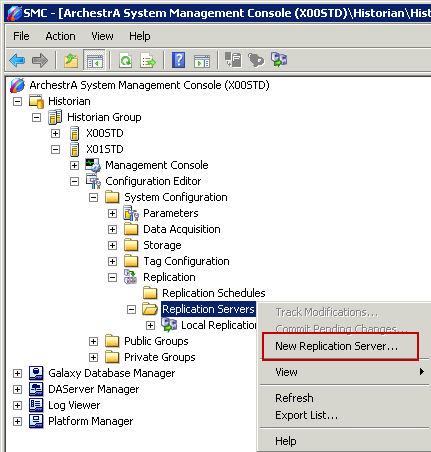
Step 1. In the System Management Console, expand Configuration Editor\System Configuration\Replication\ Replication Servers, right-click and select New Replication Server.
The New Replication Server dialog box appears.
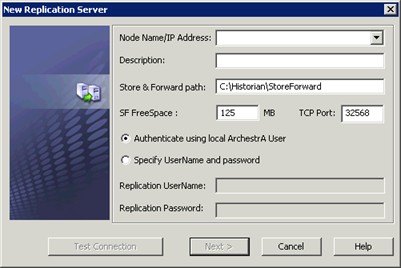
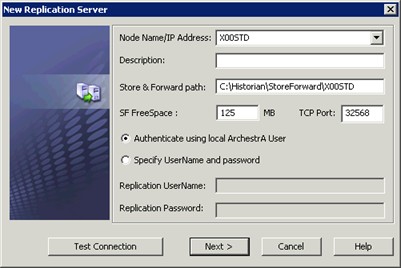
Step 2. In the Node Name/IP Address field, enter the name of your Tier-2 Historian Server.
Step 3. Leave the other values as default and click Test Connection. A confirmation dialog box appears.
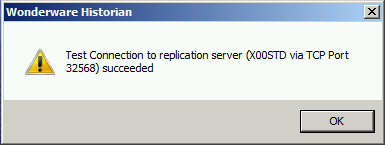
Step 4. Click OK.
Step 5. In the New Replication Server dialog box, click Next.
The New Replication Server - Advanced dialog box appears.
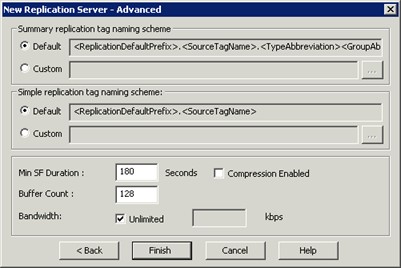
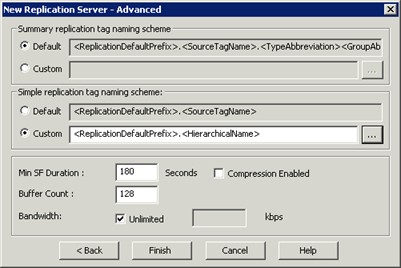
Step 6. In the Simple replication tag naming scheme area, select Custom and click the ellipsis button.

The Naming Scheme dialog box appears.
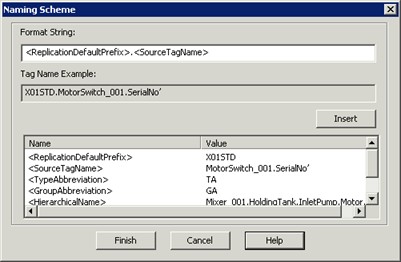
Step 7. In the Format String field, delete <SourceTagName>.
Step 8. In the bottom pane, select <HierarchicalName> from the list and click Insert.
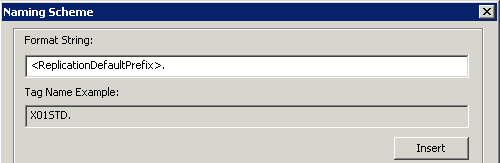
The Format String field now displays <ReplicationDefaultPrefix>.<HierarchicalName>.
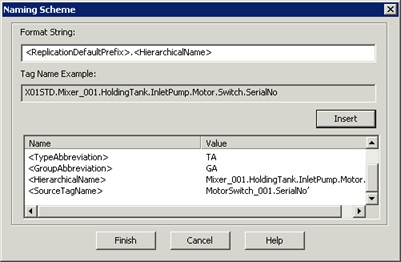
Step 9. Click Finish.
Step 10. In the New Replication Server - Advanced dialog box, click Finish.