Lab 9.2 – Create a New Replication Schedule
Create a New Replication Schedule
Now that you created some replication tags using one of the default replication schedules, you will create a new replication schedule and make it available for the existing replication server and any new one you create.
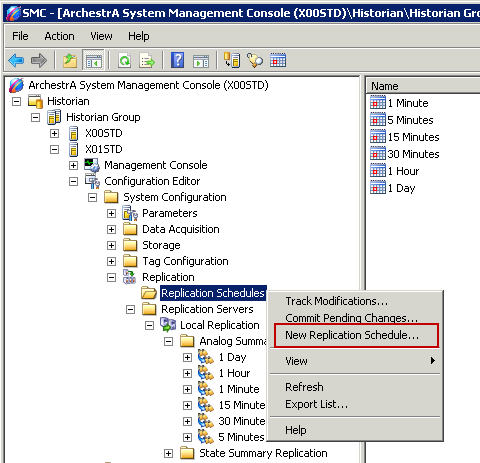
Step16. Select Replication Schedules, right-click and select New Replication Schedule.
Create a New Replication Schedule
Now that you created some replication tags using one of the default replication schedules, you will create a new replication schedule and make it available for the existing replication server and any new one you create.
Step16. Select Replication Schedules, right-click and select New Replication Schedule.
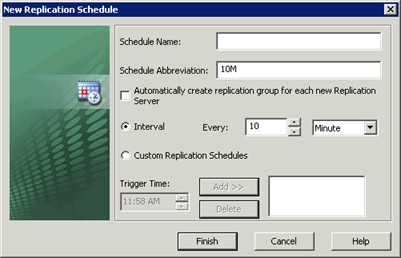
Step 17. In the Schedule Name field, type 3 Minutes.
Step 18. Check Automatically create replication group for each new Replication Server.
Step 19. Change the default interval time to every 3 Minutes.
Notice that the Schedule Abbreviation field updates automatically when you enter a value for Interval.
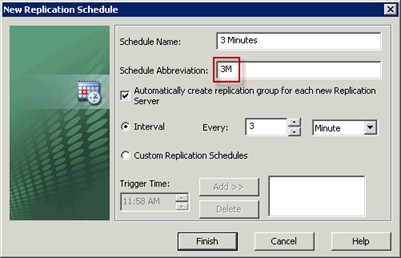
Step 20. Click Finish.
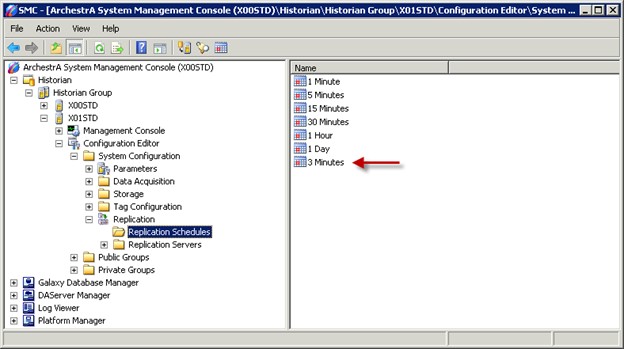
The new replication schedule is now listed in the Replication Schedules folder.
Step 20. Click Finish.
The new replication schedule is now listed in the Replication Schedules folder.
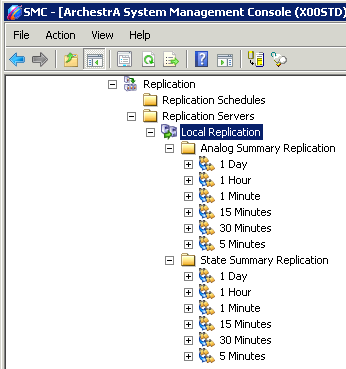
However, the new schedule has not yet been added to the existing replication server groups.
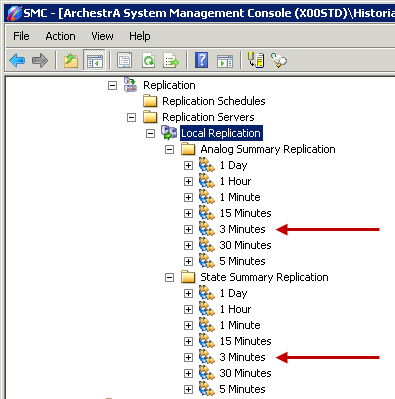
Step21. Expand Replication Servers\Local Replication and verify that the 3 Minutes schedule is not available in either the Analog Summary Replication folder or the State Summary Replication folder.
However, the new schedule has not yet been added to the existing replication server groups.
Step21. Expand Replication Servers\Local Replication and verify that the 3 Minutes schedule is not available in either the Analog Summary Replication folder or the State Summary Replication folder.
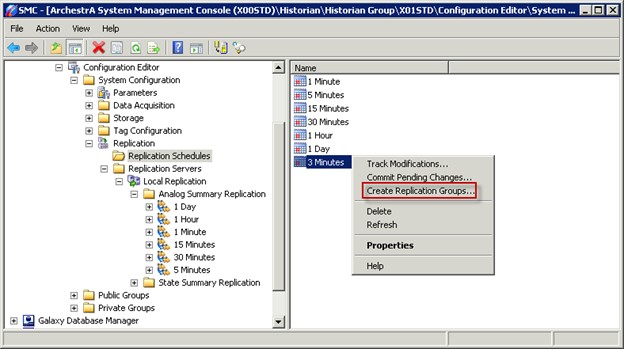
Step22. In Replication Schedules, rightclick the 3 Minutes schedule and select Create Replication Groups.
Step22. In Replication Schedules, rightclick the 3 Minutes schedule and select Create Replication Groups.
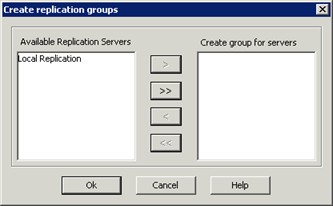
Step 24. Click OK.
Step 25. Verify both replication groups under Local Replication have listed the new schedule 3 Minutes.
You may need to click F5 to refresh the contents of the folders.
Add Multiple State Summary Replication Tags
Now you will create some State Summary replication tags under the newly created schedule.
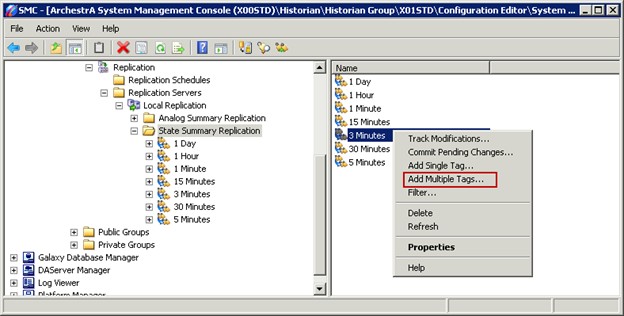
Step 26. In Local Replication\State Summary Replication, right-click the 3 Minutes schedule and select Add Multiple Tags.
Add Multiple State Summary Replication Tags
Now you will create some State Summary replication tags under the newly created schedule.
Step 26. In Local Replication\State Summary Replication, right-click the 3 Minutes schedule and select Add Multiple Tags.
Step 26. In Local Replication\State Summary Replication, right-click the 3 Minutes schedule and select Add Multiple Tags.
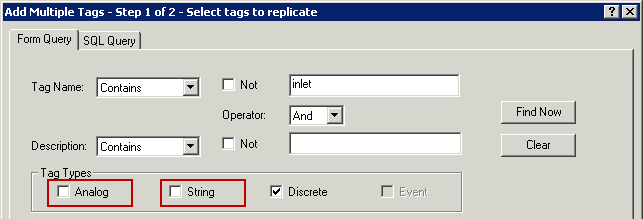
Step 27. Verify the Tag Name drop-down value is Contains, and in the text field enter inlet.
Step 28.In the Tag Types group, uncheck Analog and String.
Step 30. Move the following tag names from the Found Tags list to the Target Tags list.
Step 31. Click OK.
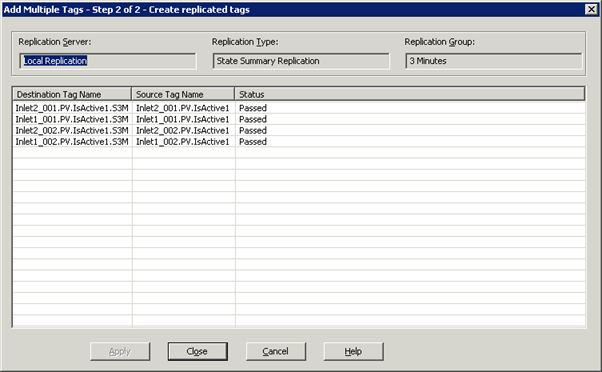
The Add Multiple Tags - Step 2 of 2 - Create replicated tags dialog box appears. Click Apply and verify that all tags have a Status of Passed.
Step 32.Click Close.
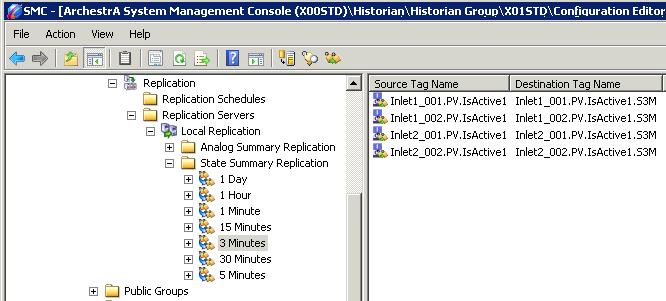
Step 33. Expand State Summary Replication, click the 3 Minutes schedule and verify the new replication tags were added.
The Add Multiple Tags - Step 2 of 2 - Create replicated tags dialog box appears. Click Apply and verify that all tags have a Status of Passed.
Step 32.Click Close.
Step 33. Expand State Summary Replication, click the 3 Minutes schedule and verify the new replication tags were added.