Lab 5 – Retrieving Data with SQL Queries
Connect to the Runtime Database
When you open the SQL Server Management Studio, you need to connect to the server where your historian is running. You can execute steps 1 to 7 on your own and wait for your instructor to complete the rest of the lab with you.
Step 1.Open the SQL Server Management Studio (Start | All Programs | Microsoft SQL Server 2012 | SQL Server Management Studio).
The Connect to Server dialog box appears.
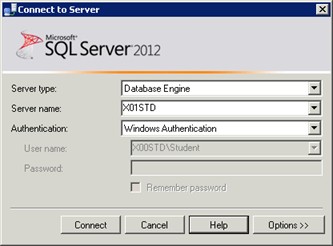
Step 2. In Server name, enter the name of your Historian Server as specified by your instructor.
Step 3. Leave the other settings as default and click Connect.
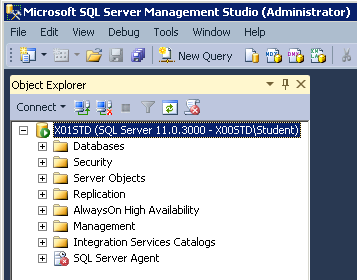
The Historian Server node now appears listed in the Object Explorer.
Step 4. On the File menu, click Open | File.
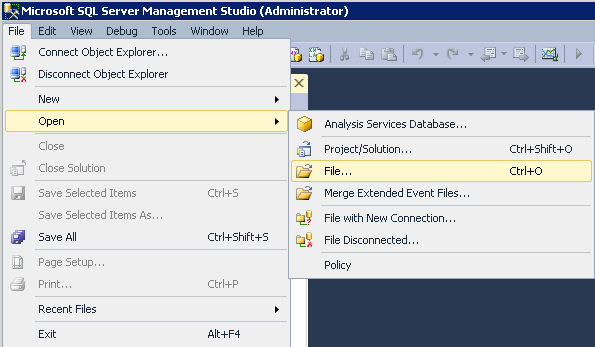
The Open File dialog box appears.
Step 5. Download Query file and open it and click Open.

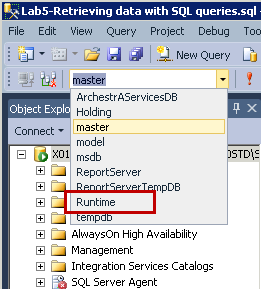
In Object Explorer, expand Databases\Runtime\Views and identify on the list the Live and
History views.
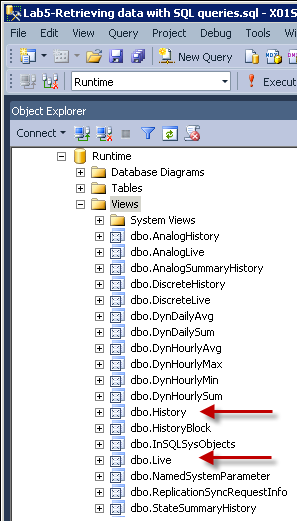
The following queries will retrieve data from these two views.
Run Queries Against the Runtime Database
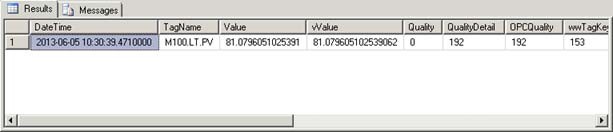
Step 7. In the body of the query, highlight the Example 1 query and click the Execute button (or Press the F5 key).
Note: Highlight only the query you plan to run. If you click the Execute button with no queries highlighted, the system will run all the queries in your current session. This will use significant system resources and produce results for each query in separate panes making its review very difficult.
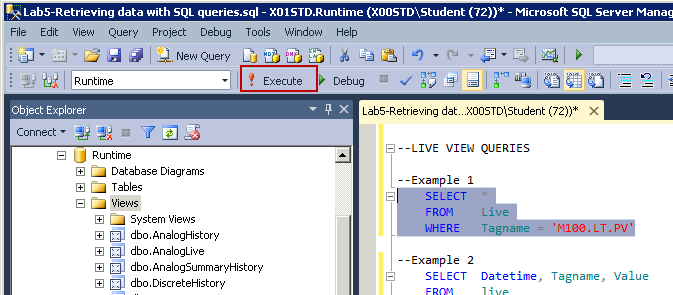
The results of the first query appear in the lower pane.