Lab 4 – Configuring and Tracking Modifications
Enable Modifications Tracking
First you need to enable Historian Server to track modifications by changing the value of a special parameter.
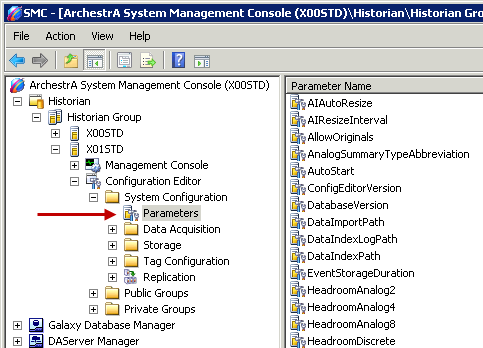
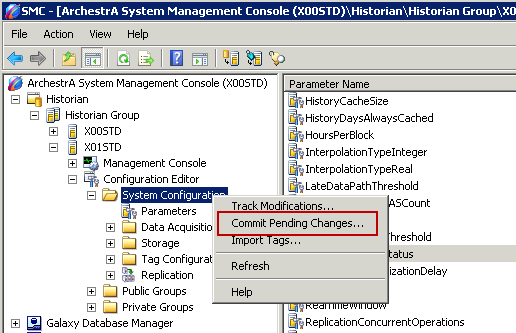
Step 1.In the System Management Console, expand Historian\Historian Group\[Historian node name]\Configuration Editor\System Configuration and select Parameters.
Important: Make sure you have selected your main Historian Server in the SMC. Do not perform the following steps in the local Historian Server.
Step 2. In the right pane, double-click ModLogTrackingStatus.
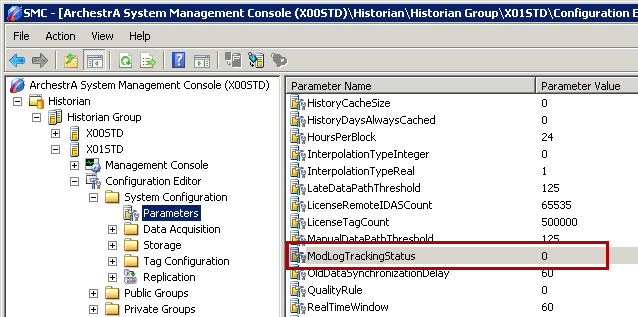
The ModLogTrackingStatus Properties dialog box appears.
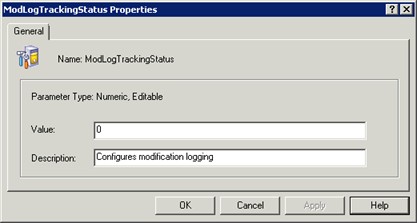
Step 3.In the Value field, enter 7.
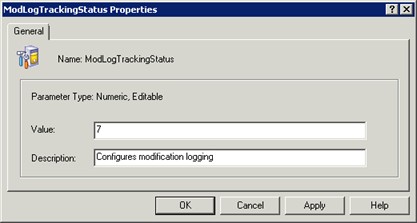
Step 4.Click OK.
A value of 7 assigned to this parameter means Inserts, Updates, and Deletions will be logged.
Step 5.Right-click System Configuration and select Commit Pending Changes.
The Commit Pending Changes - Confirmation dialog box appears.
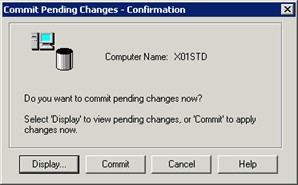
Step 6. Click Display.
The Pending Changes dialog box appears displaying only one row of changes, which corresponds to the change of the value for the ModLogTrackingStatus parameter.

Step 7. Click OK.
Step 8. Click Commit.
The confirmation dialog box appears.
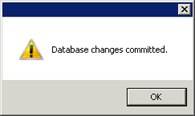
Step 9. Click OK.
Deploy New Attributes to be Historized
Now that Modification Tracking is enabled, you are going to deploy additional objects to see how the deployment affects the Runtime database.
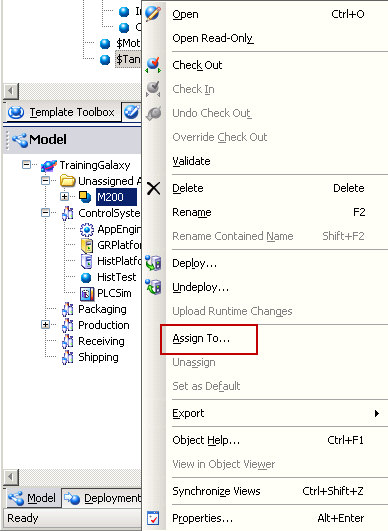
Step 10. In the ArchestrA IDE, Model view, expand the Unassigned Area folder.

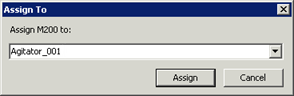
Step 11. Right-click the M200 container and select Assign To.
The Assign To dialog box appears.
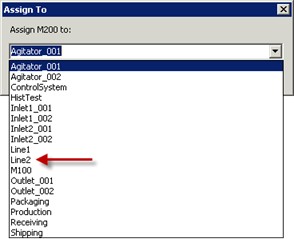
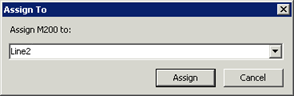
Step12. In the drop-down list, select Line2.
Step 13.Click Assign.
I
Step 14. In the Model view, expand Production and Line 2.

Step 15. Right-click M200 and select Deploy.

The Deploy dialog box appears.
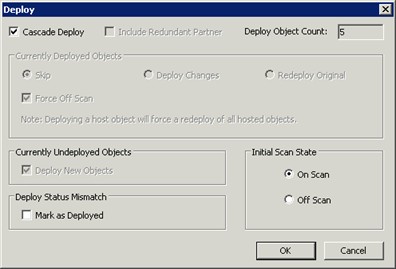
Step 16. Leave the default options and click OK.
The Deploy dialog box appears and displays the progress of the deployment. This may take a few moments.
Step 17.When the progress displays 100% completed, click Close.
Track Modifications
After deploying M200, there should be some modifications logged. You are going to use the Modification Tracker to retrieve the last activity on the Runtime database.
Step 18. In the SMC, right-click Configuration Editor and select Track Modifications.

The Modification Tracker - Selection dialog box appears.
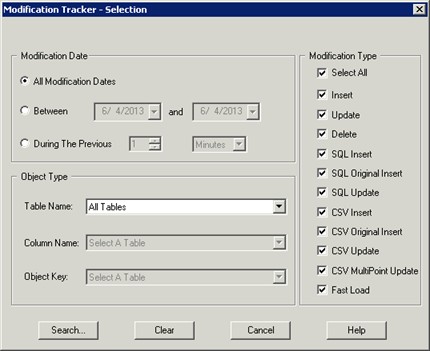
Step 19. Leave the default settings and click Search to retrieve all type modifications.
The Modification Tracker displays any modifications made after tracking was enabled.

Step 20. When finished reviewing the modifications, click Cancel.
Step 21. In the Modification Tracker - Selection dialog box, click Cancel to close it.